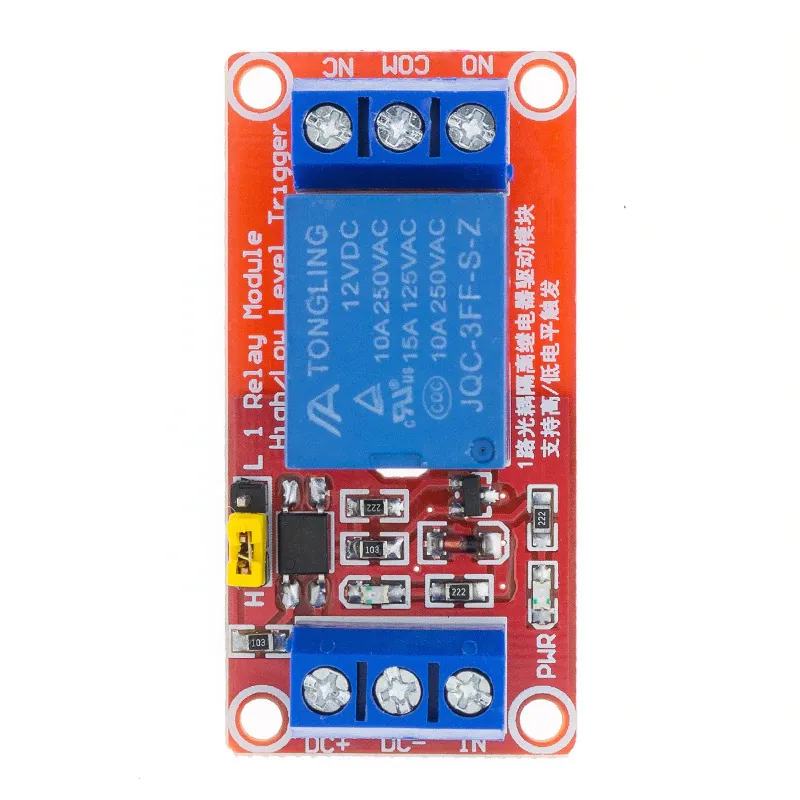
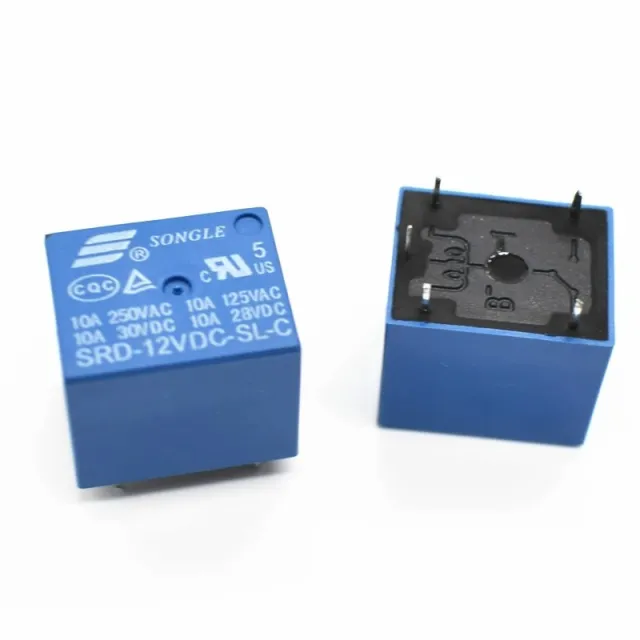
SKU: OT901-C111 Numero articolo: BA050 EAN: 5408955714471

Parole chiave: 12v relais, relais 12v, relay 12v, 12v relay
Dimensioni
Lunghezza: 5,1cm
Larghezza: 2,54cm
Altezza: 1,9cm
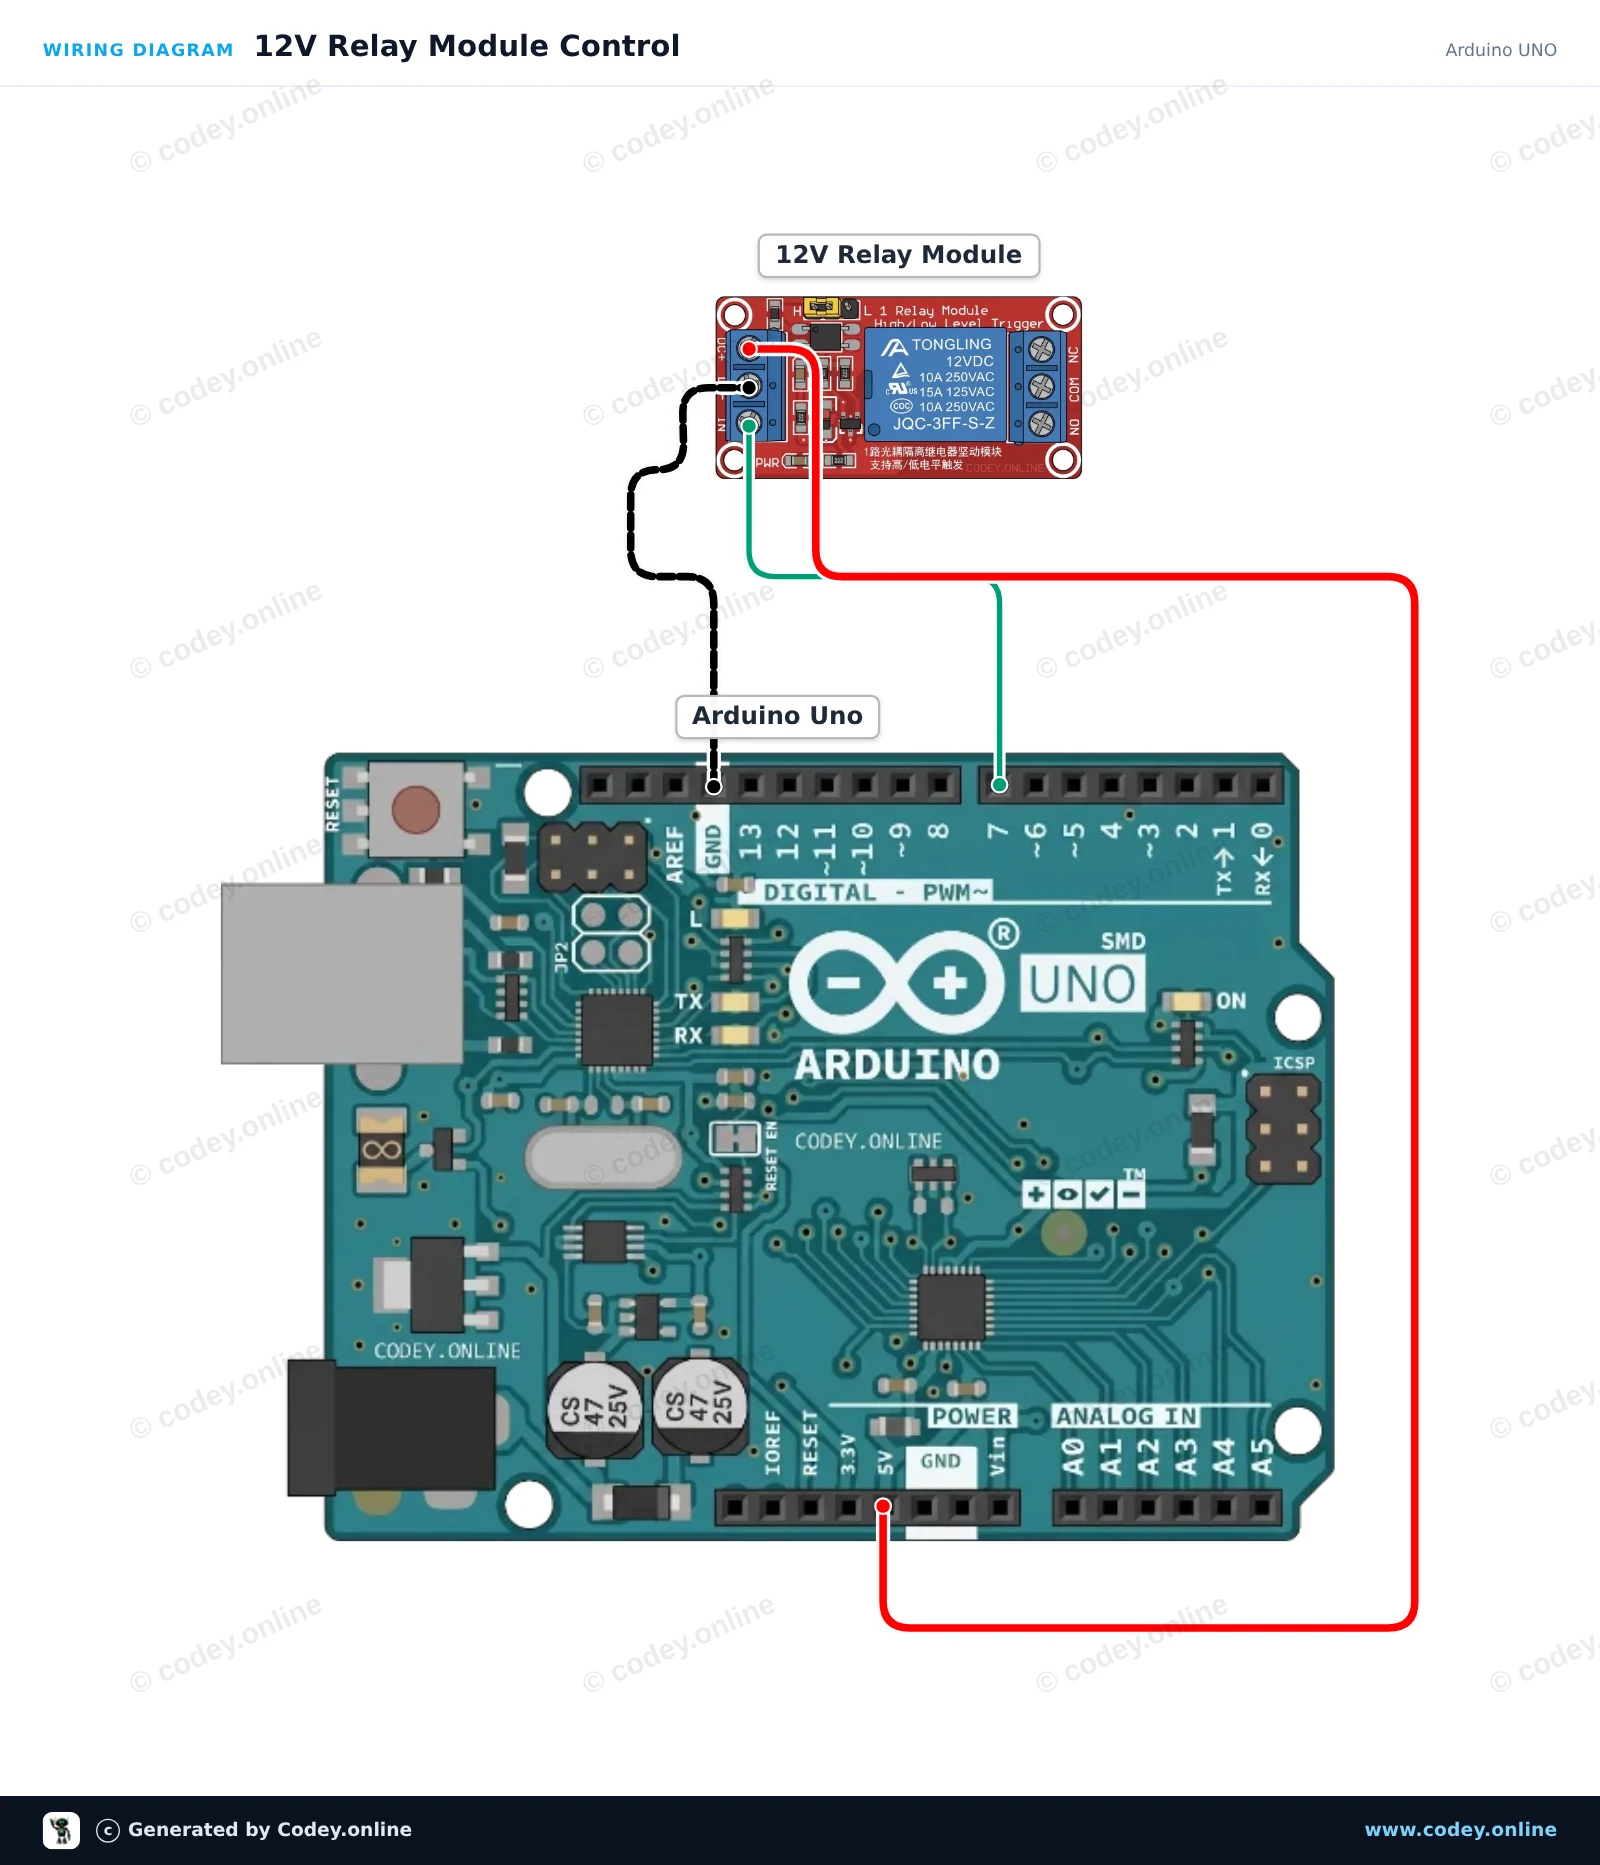
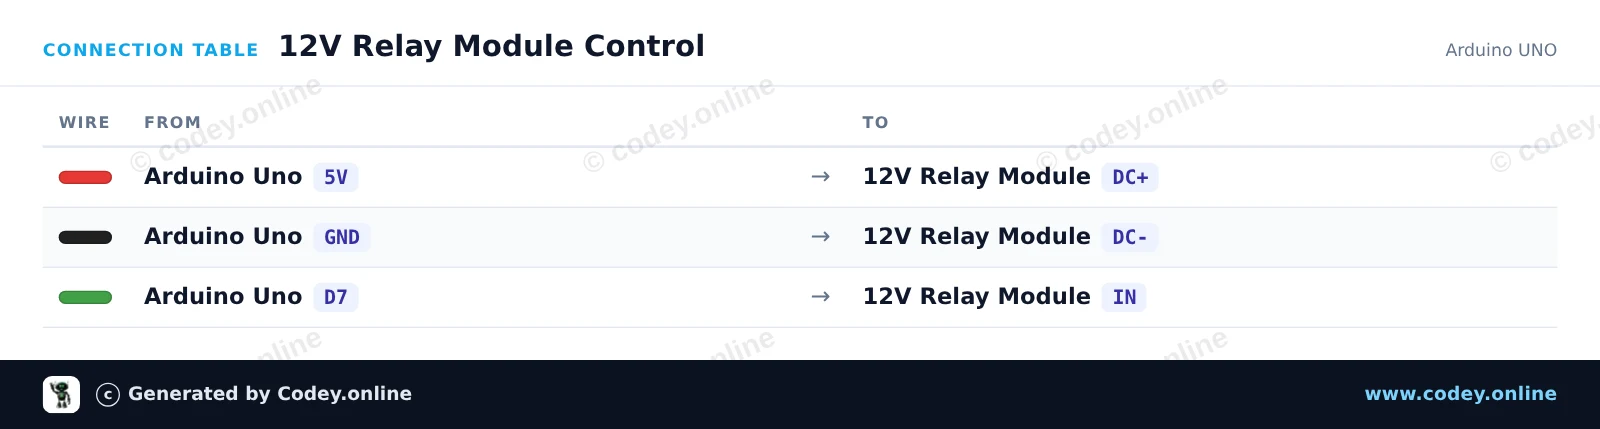
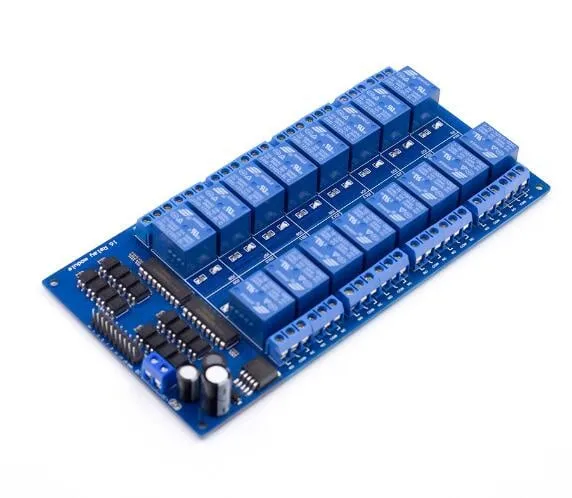
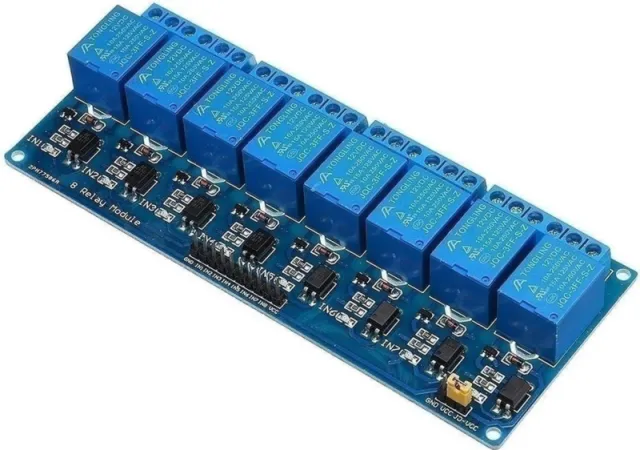
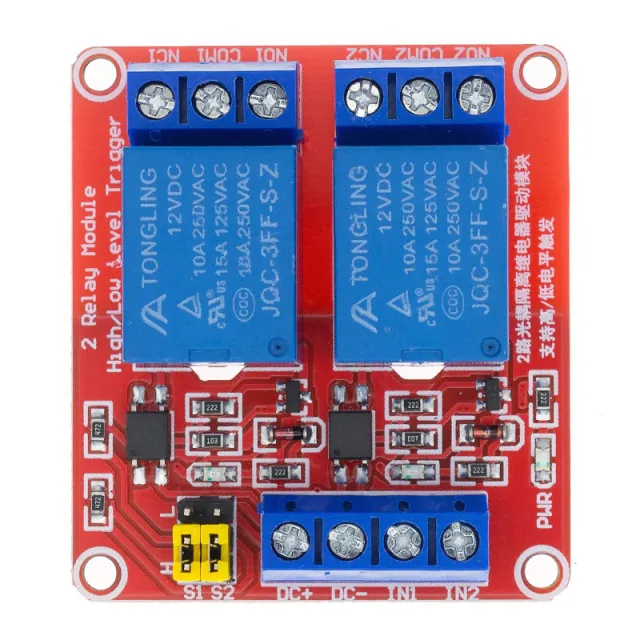
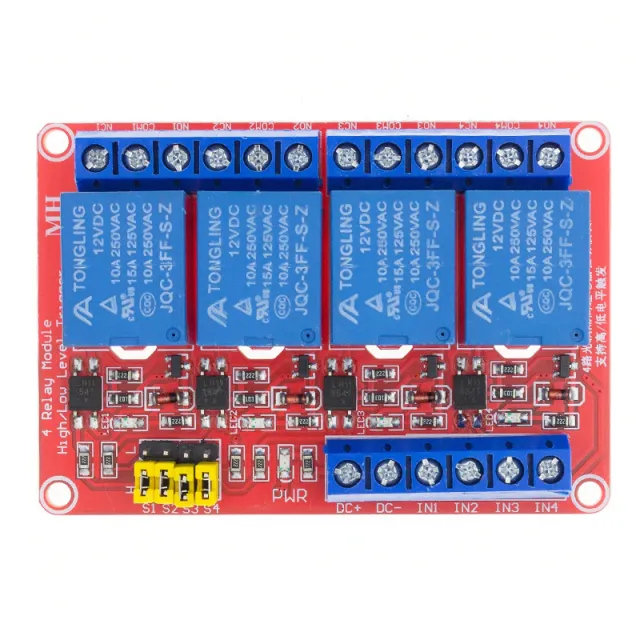
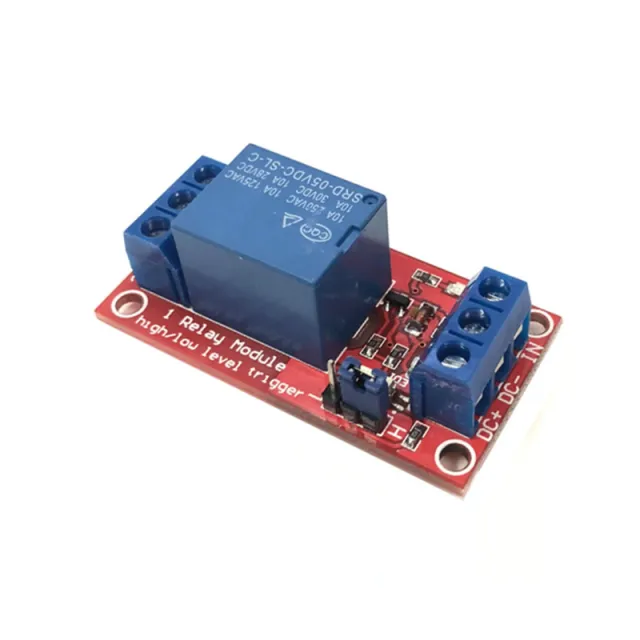
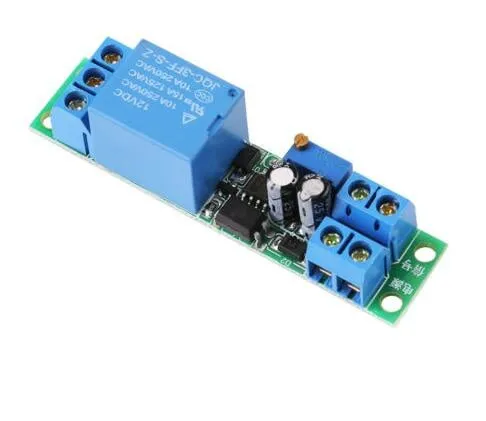
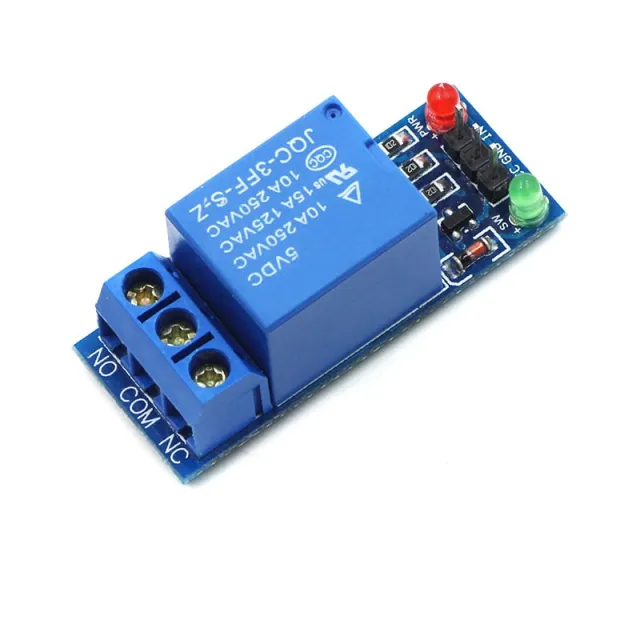
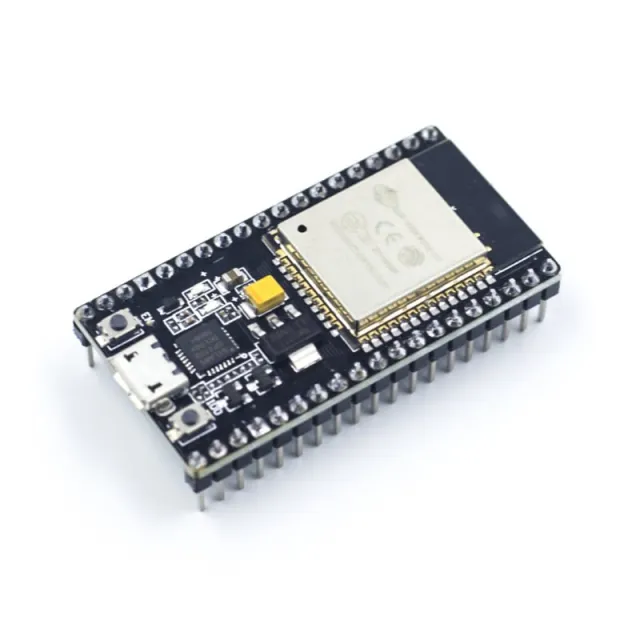
Ecco come collegare il Modulo relè 12v a un Arduino UNO o ESP32, con uno sketch di esempio che puoi caricare subito.
Questo progetto mostra come controllare un modulo relè 12V con un Arduino Uno. Lo sketch accende e spegne periodicamente il relè ogni 2 secondi, mostrando lo stato attuale nel Serial Monitor. Un indicatore LED integrato sul modulo si accenderà عندما il relè è alimentato.
/*
 * ==================================================================
 *  Generated by Codey.online  —  https://www.codey.online
 * ==================================================================
 *  Project   : 12V Relay Module Control
 *  Board     : Arduino UNO (arduino:avr:uno)
 *  Parts     : Relais Module 12v AC250V 10A Relais 12v 1 relais LED indicator
 *  Libraries : none (built-in)
 *
 *  Codey Online is an AI-powered browser IDE for Arduino and ESP32.
 *  Describe your project and Codey writes the code, draws the wiring
 *  diagram and uploads it to your board, straight from the browser.
 *  This code is free to use, modify and share, without warranty.
 * ==================================================================
 */

// Pin configuration
const int RELAY_PIN = 7;

void setup() {
  // Initialize serial communication
  Serial.begin(115200);
  while (!Serial) {
    ; // Wait for serial port to connect
  }

  // Configure relay control pin
  pinMode(RELAY_PIN, OUTPUT);
  digitalWrite(RELAY_PIN, HIGH); // Default off (active-low module)

  Serial.println(F("12V Relay Module Demo Initialized"));
}

void loop() {
  // Activate relay (Low-level trigger)
  Serial.println(F("Relay: ON"));
  digitalWrite(RELAY_PIN, LOW);
  delay(2000);

  // Deactivate relay
  Serial.println(F("Relay: OFF"));
  digitalWrite(RELAY_PIN, HIGH);
  delay(2000);
}Wiring diagram and example code generated by Codey.online — https://www.codey.online
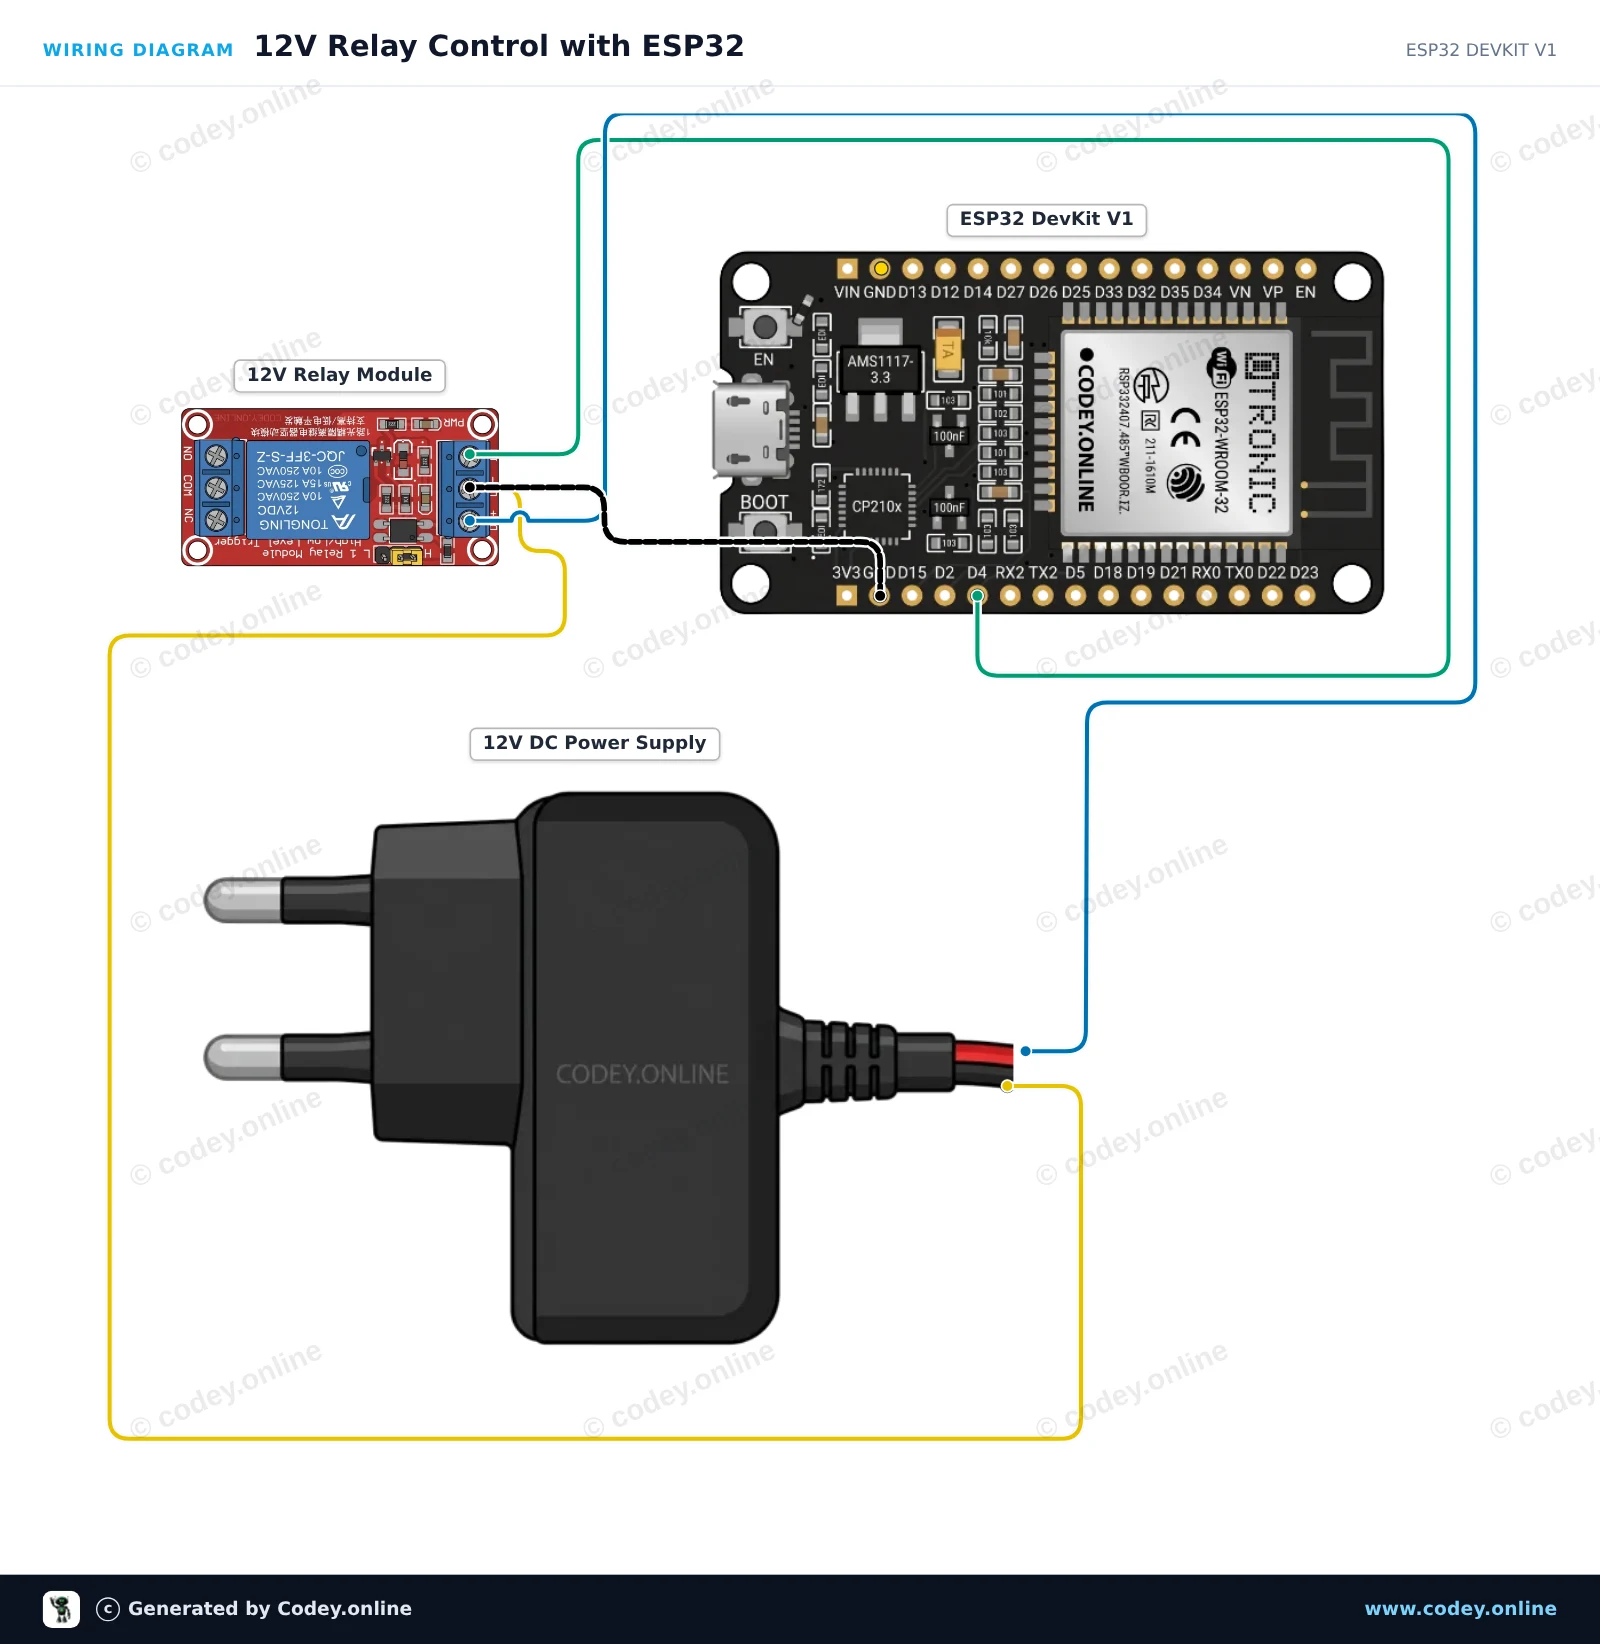
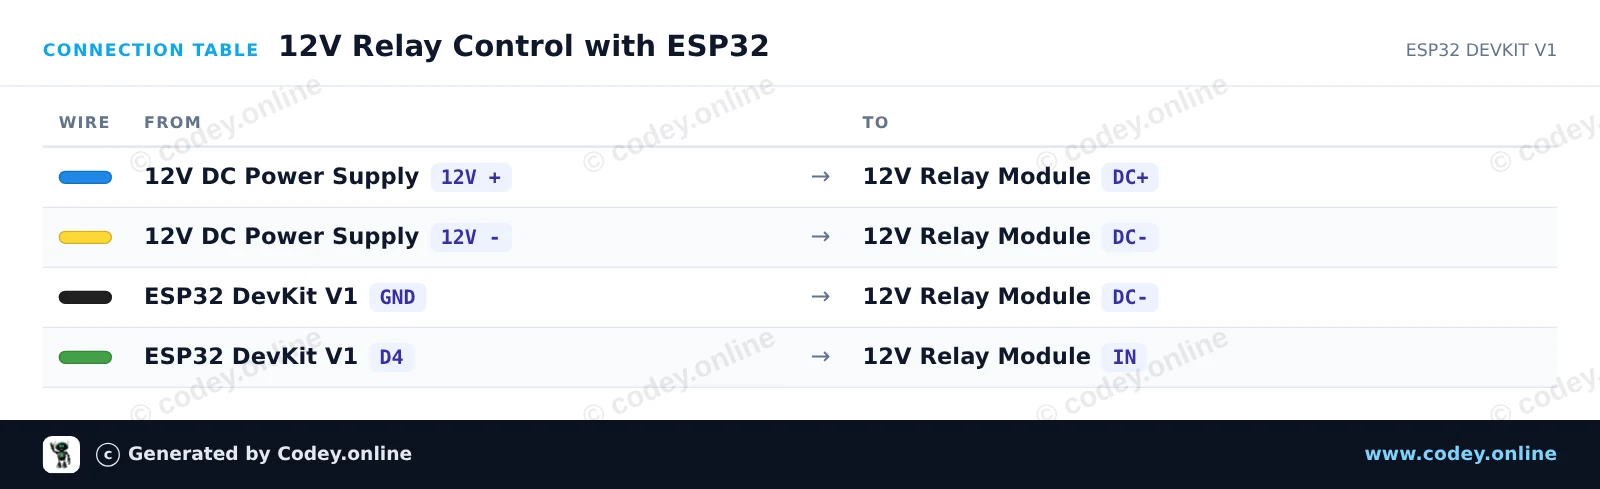
Questo progetto mostra come controllare un modulo relè a un canale da 12V usando un ESP32. La bobina del relè è alimentata da un alimentatore esterno 12V DC con massa مشترa con l'ESP32, e GPIO 4 commuta il relè on e off ogni due secondi.
/*
 * ==================================================================
 *  Generated by Codey.online  —  https://www.codey.online
 * ==================================================================
 *  Project   : 12V Relay Control with ESP32
 *  Board     : ESP32 DEVKIT V1 (esp32:esp32:esp32doit-devkit-v1)
 *  Parts     : Relais Module 12v AC250V 10A Relais 12v 1 relais LED indicator
 *  Libraries : none (built-in)
 *
 *  Codey Online is an AI-powered browser IDE for Arduino and ESP32.
 *  Describe your project and Codey writes the code, draws the wiring
 *  diagram and uploads it to your board, straight from the browser.
 *  This code is free to use, modify and share, without warranty.
 * ==================================================================
 */

// Pin connected to relay control input
const int RELAY_PIN = 4;

void setup() {
  Serial.begin(115200);

  // Configure relay pin as output
  pinMode(RELAY_PIN, OUTPUT);
  digitalWrite(RELAY_PIN, LOW);

  Serial.println("ESP32 12V Relay Demo Started");
}

void loop() {
  // Turn relay ON
  Serial.println("Relay ON");
  digitalWrite(RELAY_PIN, HIGH);
  delay(2000);

  // Turn relay OFF
  Serial.println("Relay OFF");
  digitalWrite(RELAY_PIN, LOW);
  delay(2000);
}Wiring diagram and example code generated by Codey.online — https://www.codey.online





 English
  Nederlands
  Frans
Frans  Deutsch
  Español
  Suomi
Suomi  Polski
  Dansk
Dansk  Ελληνικά
  Български
  Čeština
  Hrvatski
  Aileen