SKU: OT2372-B14 Numero articolo: AA299 EAN: 8718486678140

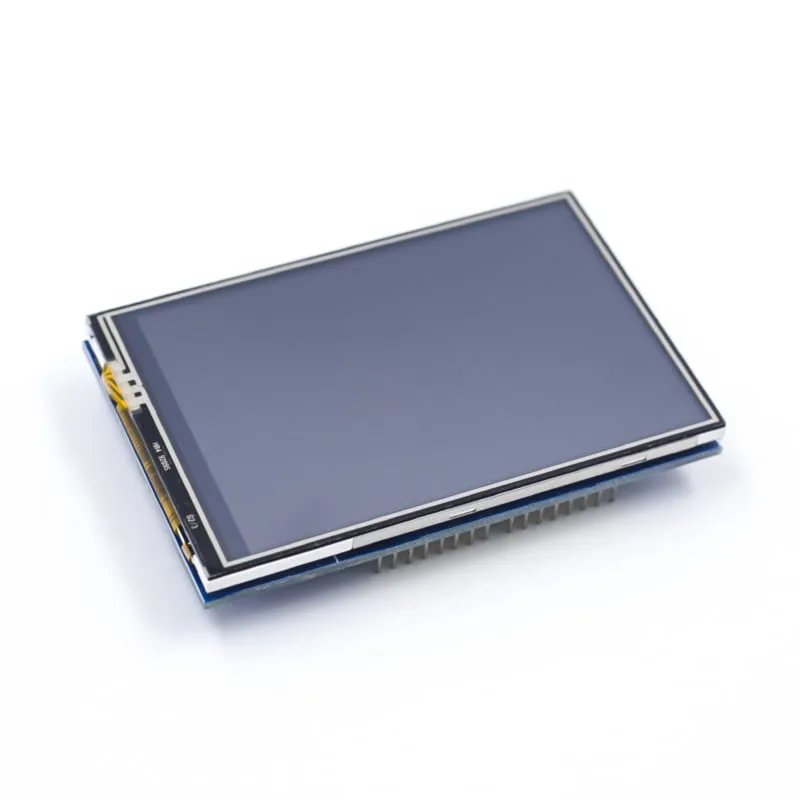
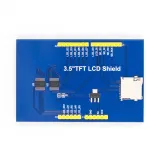
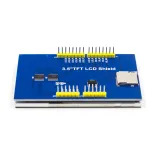
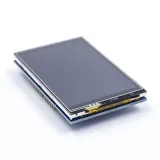
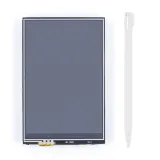
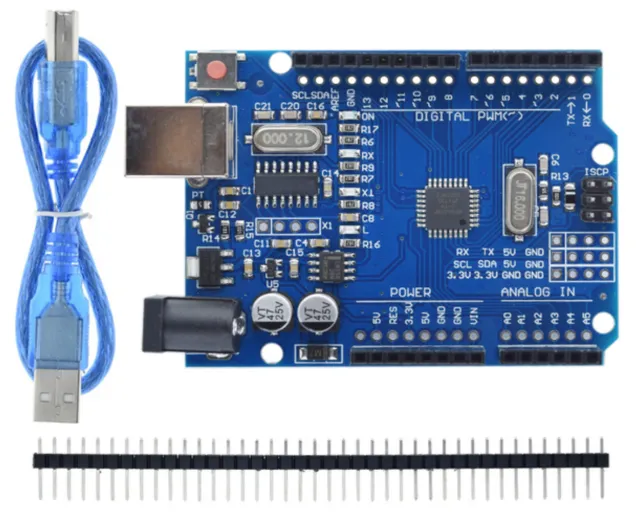
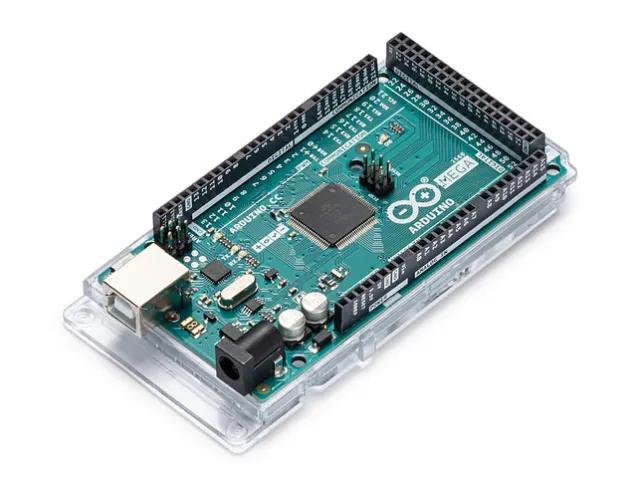
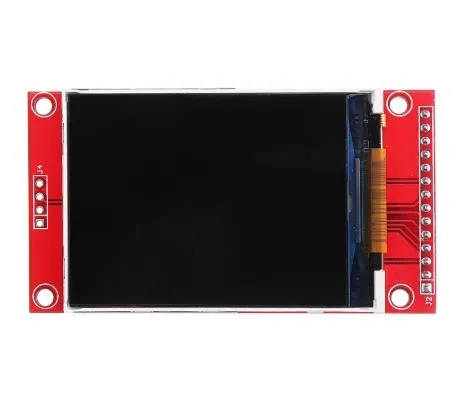
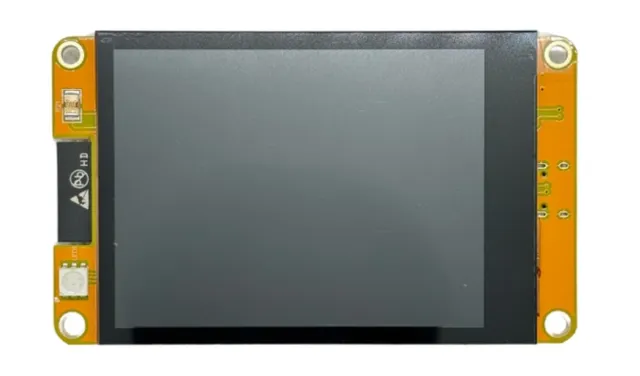
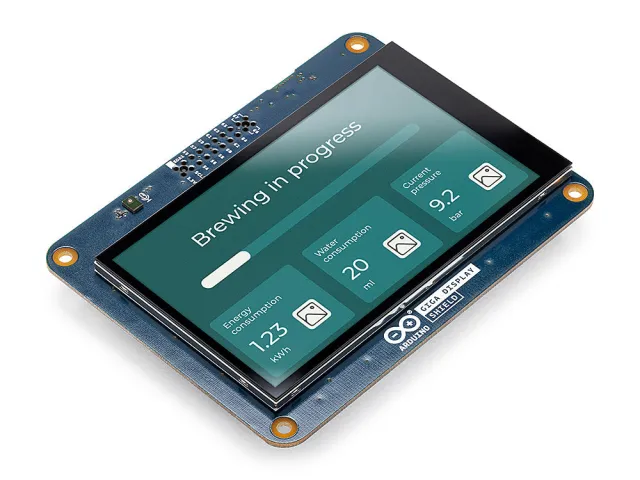
Questo shield touch screen da 3,5 inch può essere collegato direttamente a Arduino UNO e Arduino Mega 2560 e funziona sulla base della libreria ili9486.
Risoluzione: 480x320
Touchscreen: Sì
Lettore schede MicrosSD: Sì
Scarica gli sketch di esempio per iniziare subito con questo shield TFT touch screen sul tuo UNO o MEGA.
Scarica sketch di esempio e librerie per Arduino
Dimensioni
Lunghezza: 8,5cm
Larghezza: 5,5cm
Altezza: 0,7cm
La riproduzione carica il video da YouTube.
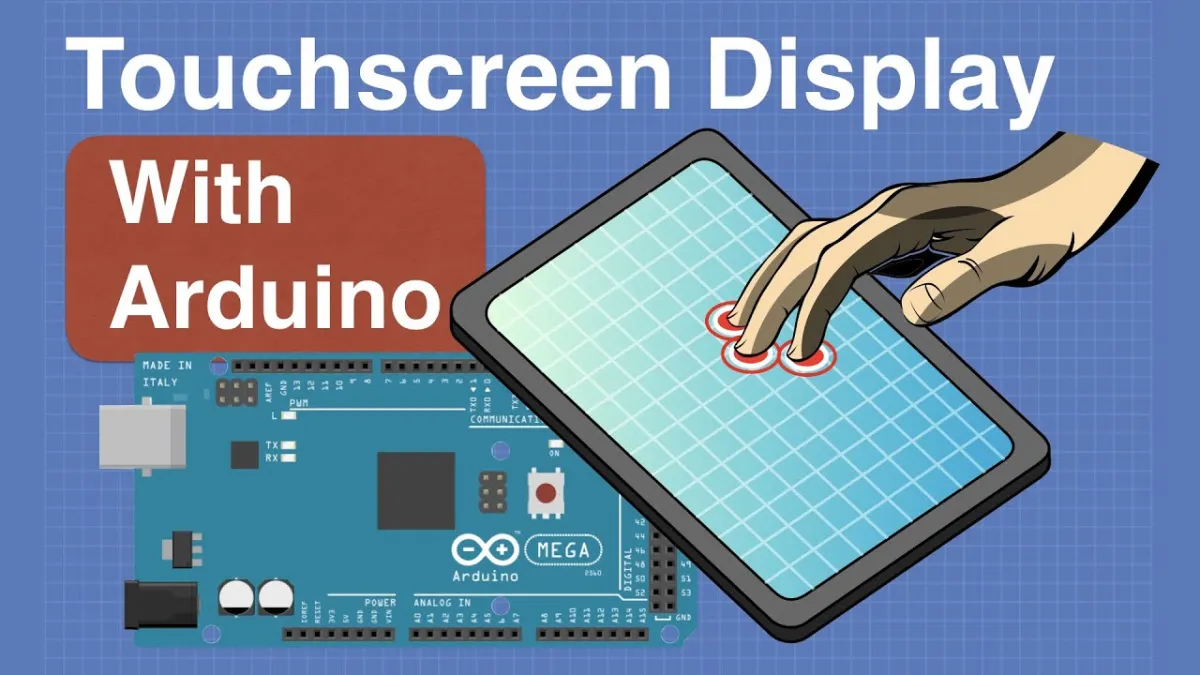
Ecco come collegare il Shield TFT touch screen da 3.5 inch per Arduino UNO e Mega a un Arduino UNO o ESP32, con uno sketch di esempio che puoi caricare subito.
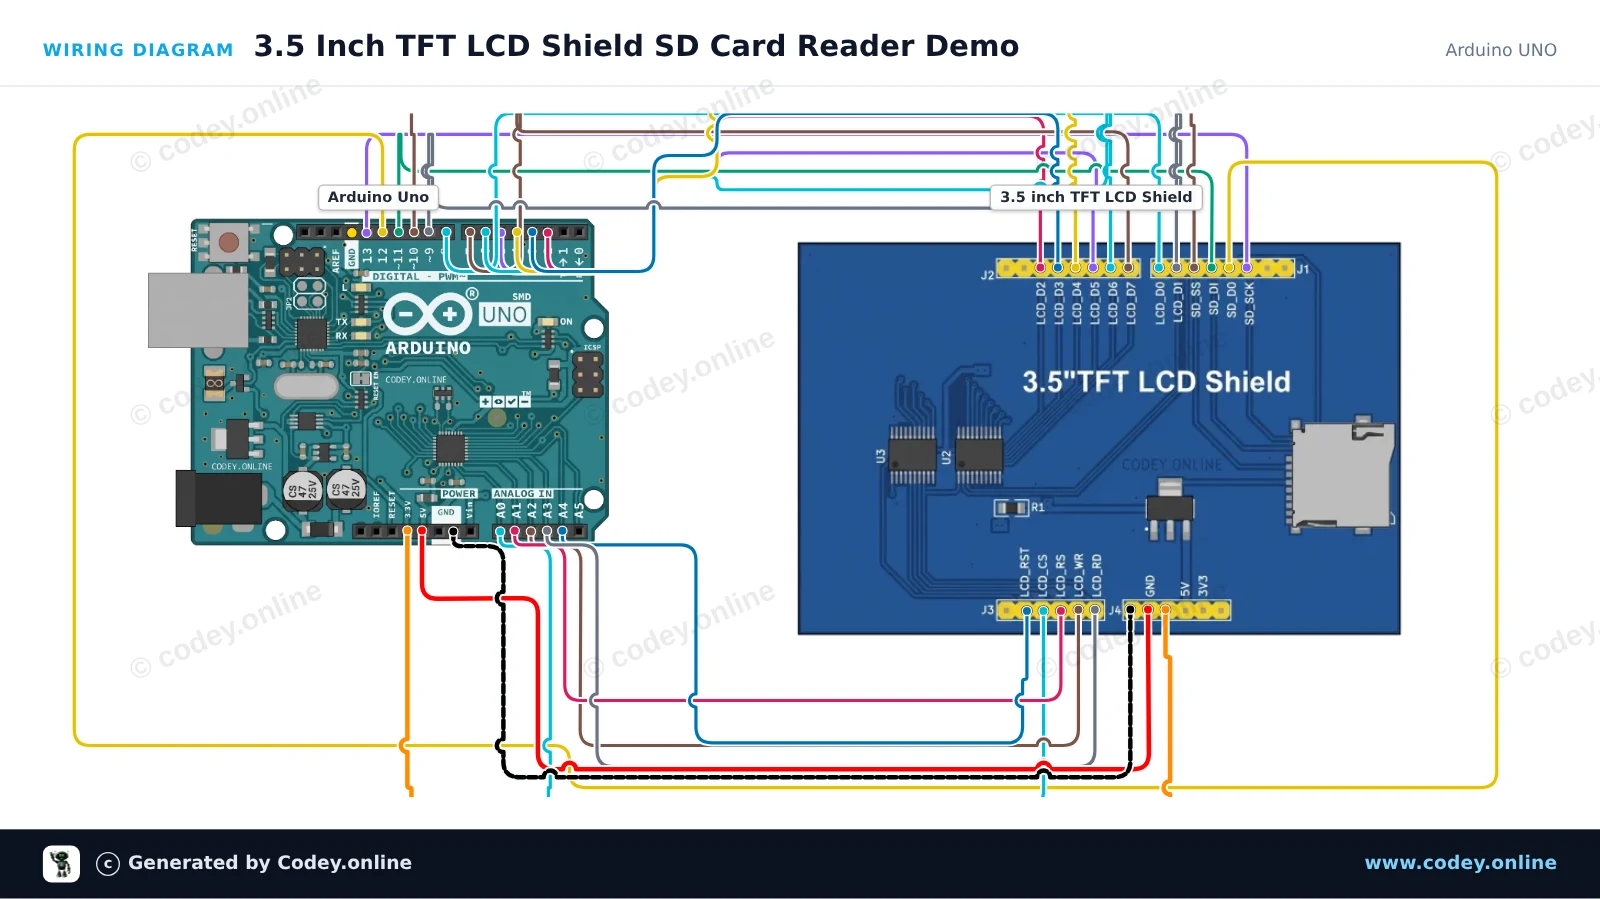
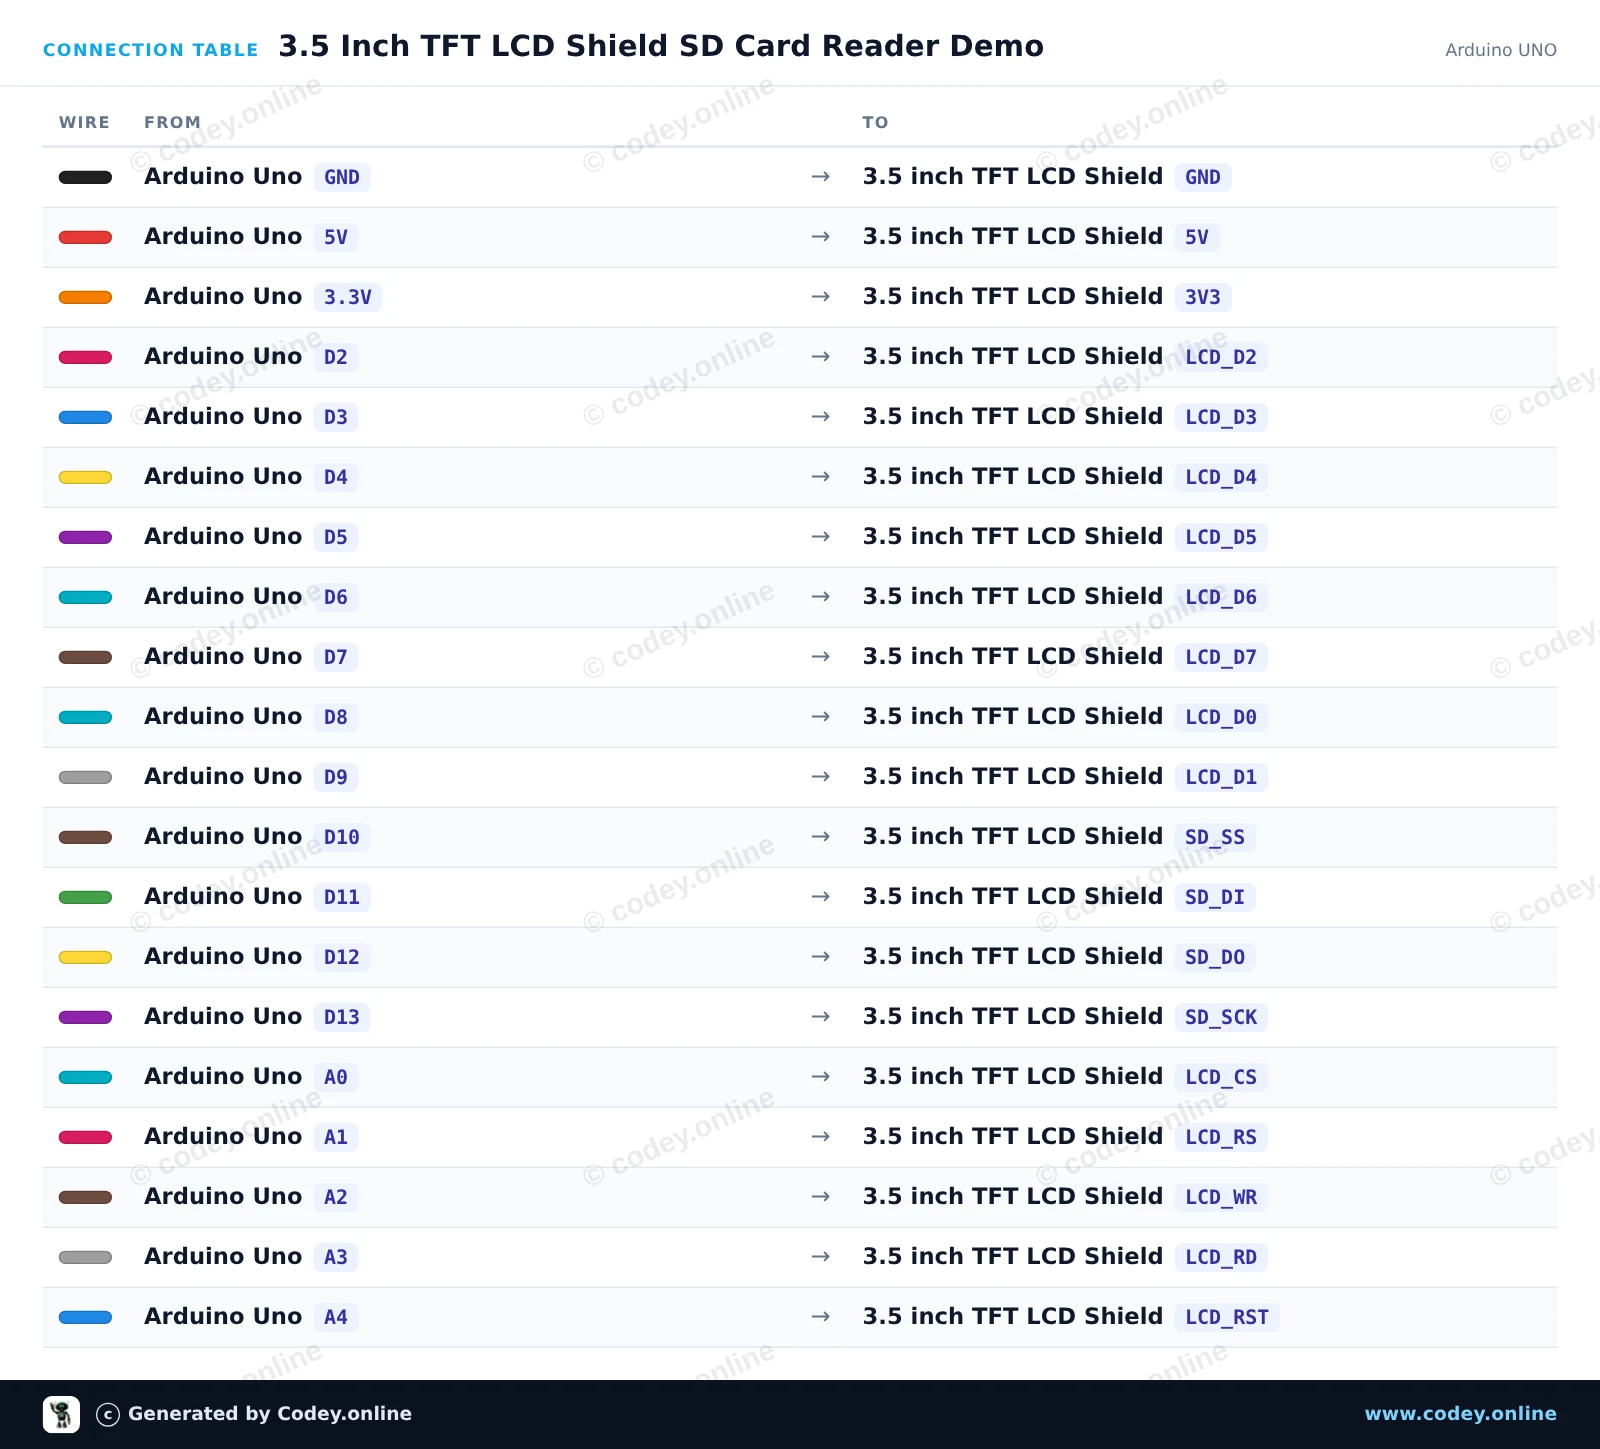
Questo progetto dimostra l’interfaccia MicroSD onboard del 3.5-inch TFT LCD Shield montato direttamente su un Arduino Uno. Lo sketch inizializza la scheda SD tramite SPI (usando il pin CS 10), scrive un file di log con timestamp e ne legge il contenuto nel Serial Monitor a 115200 baud.
/*
 * ==================================================================
 *  Generated by Codey.online  —  https://www.codey.online
 * ==================================================================
 *  Project   : 3.5 Inch TFT LCD Shield SD Card Reader Demo
 *  Board     : Arduino UNO (arduino:avr:uno)
 *  Parts     : 3.5 inch TFT LCD Shield
 *  Libraries : none (built-in)
 *
 *  Codey Online is an AI-powered browser IDE for Arduino and ESP32.
 *  Describe your project and Codey writes the code, draws the wiring
 *  diagram and uploads it to your board, straight from the browser.
 *  This code is free to use, modify and share, without warranty.
 * ==================================================================
 */

#include <SPI.h>
#include <SD.h>

const int chipSelect = 10;

void setup() {
  Serial.begin(115200);
  while (!Serial) {
    ; // Wait for serial port to connect
  }

  Serial.println(F("--- 3.5\" TFT Shield SD Card Demo ---"));
  Serial.print(F("Initializing SD card on pin 10..."));

  if (!SD.begin(chipSelect)) {
    Serial.println(F(" FAILED!"));
    Serial.println(F("Please check that a FAT16/FAT32 formatted microSD card is inserted."));
    return;
  }
  Serial.println(F(" OK!"));

  // Write sample data to test.txt
  File myFile = SD.open("test.txt", FILE_WRITE);
  if (myFile) {
    Serial.println(F("Writing to test.txt..."));
    myFile.println(F("Hello from Arduino Uno and 3.5 inch TFT Shield!"));
    myFile.println(F("MicroSD storage test successful."));
    myFile.close();
    Serial.println(F("Done writing."));
  } else {
    Serial.println(F("Error opening test.txt for writing."));
  }

  // Read back the data
  myFile = SD.open("test.txt");
  if (myFile) {
    Serial.println(F("--- File contents:"));
    while (myFile.available()) {
      Serial.write(myFile.read());
    }
    myFile.close();
    Serial.println(F("--- End of file"));
  } else {
    Serial.println(F("Error opening test.txt for reading."));
  }
}

void loop() {
  // Nothing to do in loop
  delay(1000);
}Wiring diagram and example code generated by Codey.online — https://www.codey.online
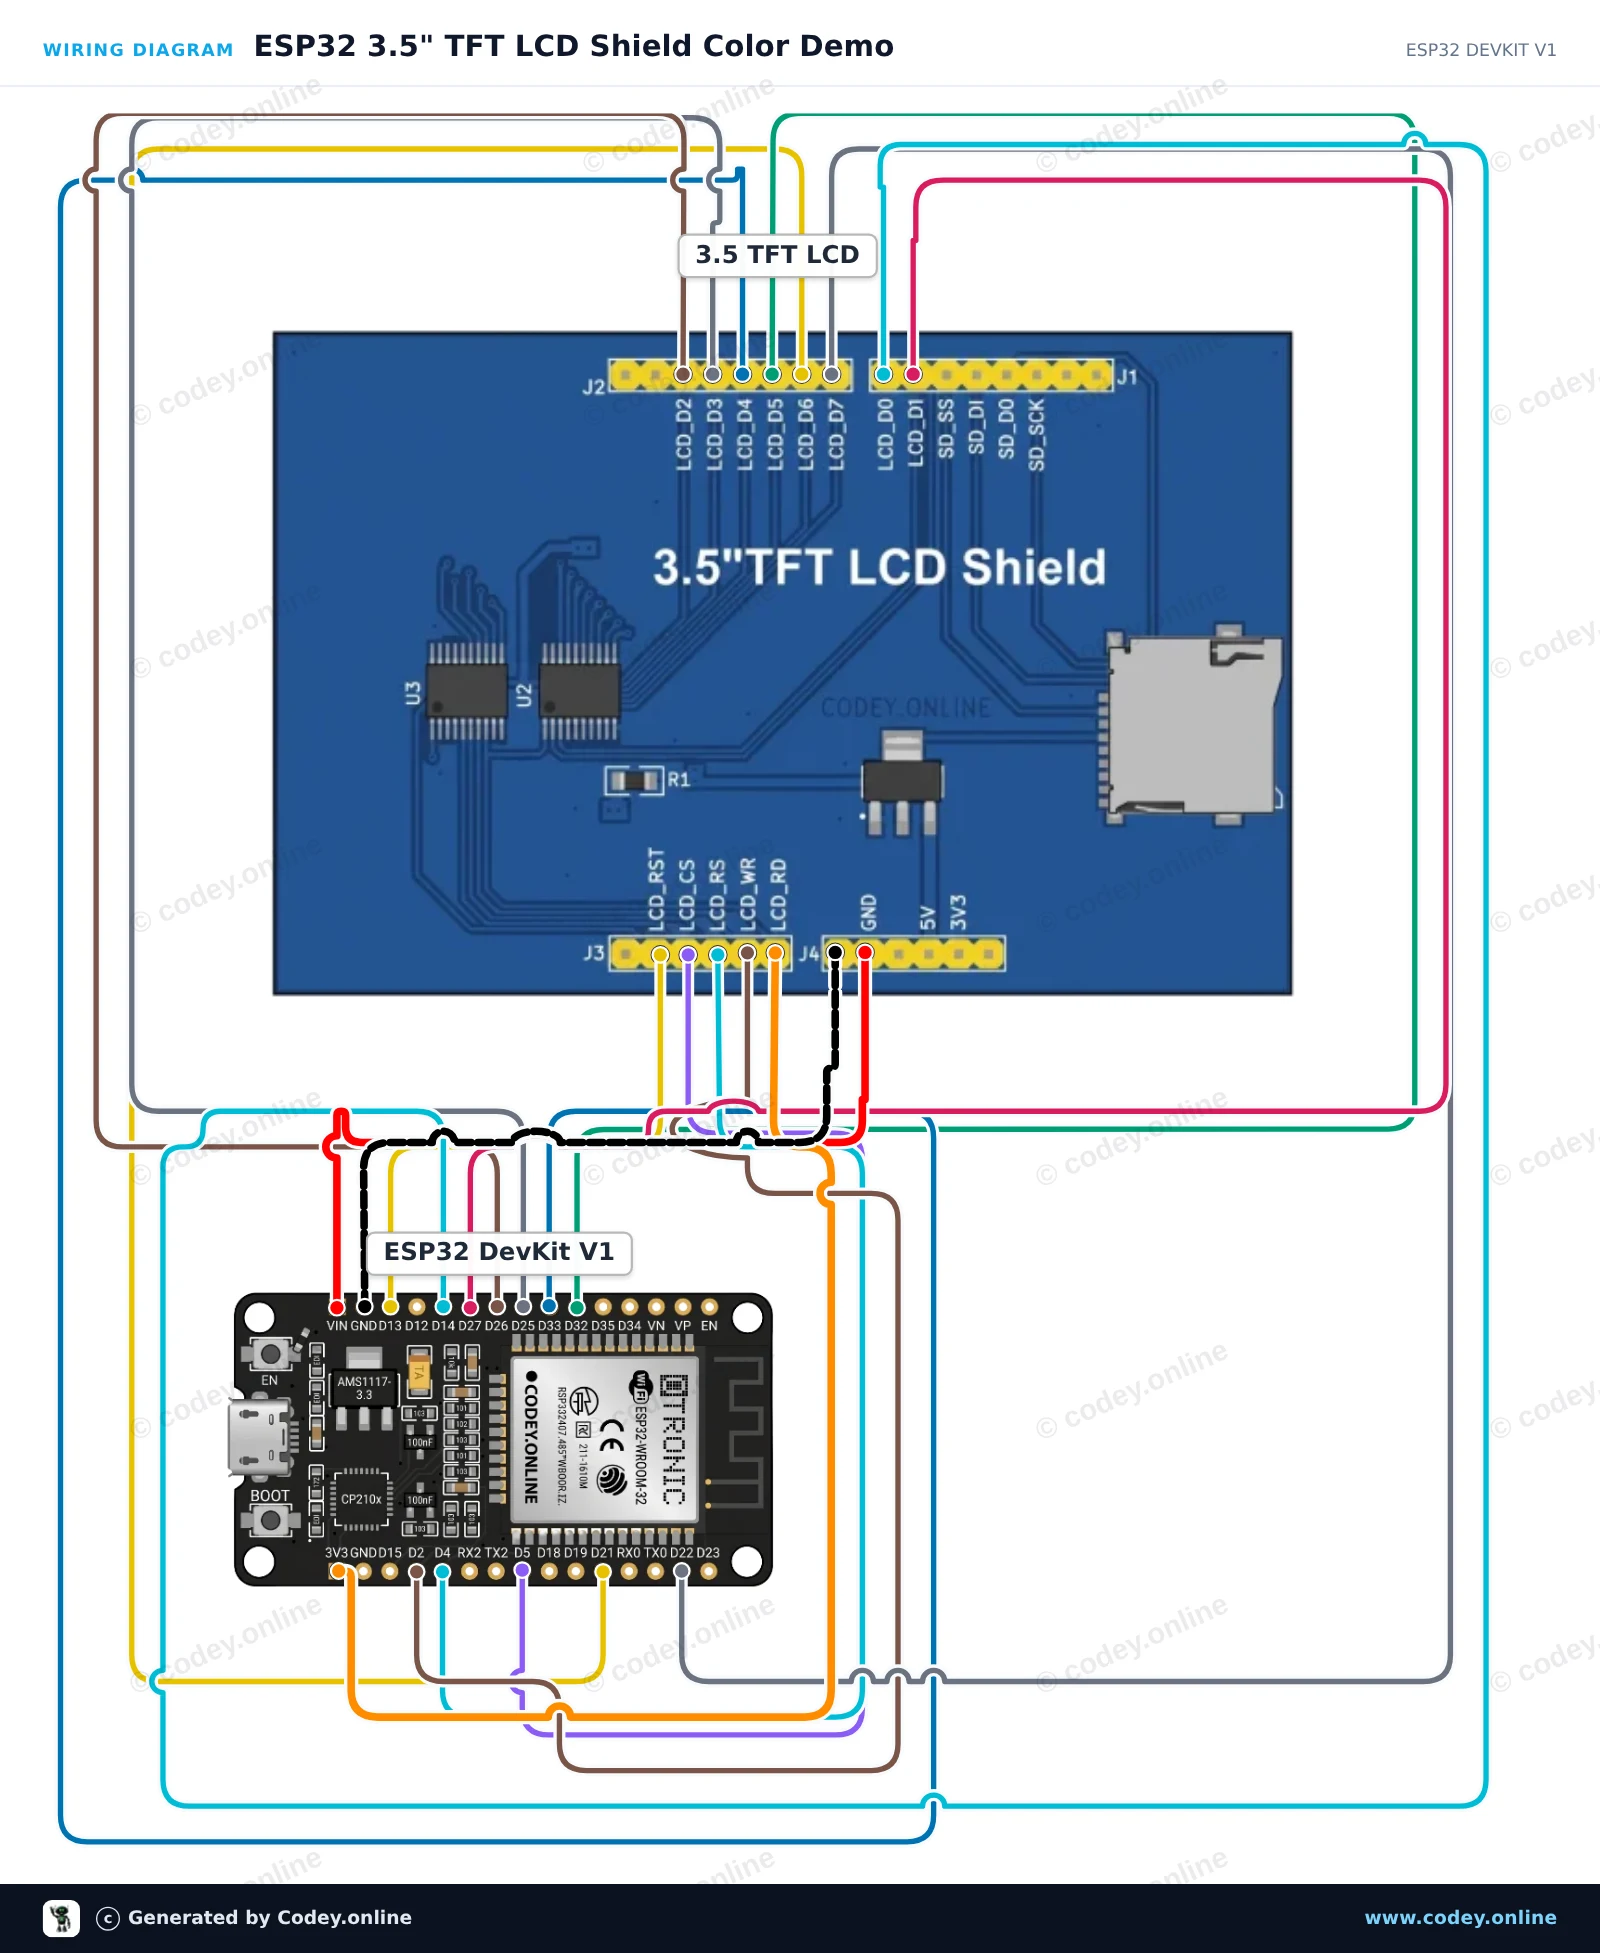
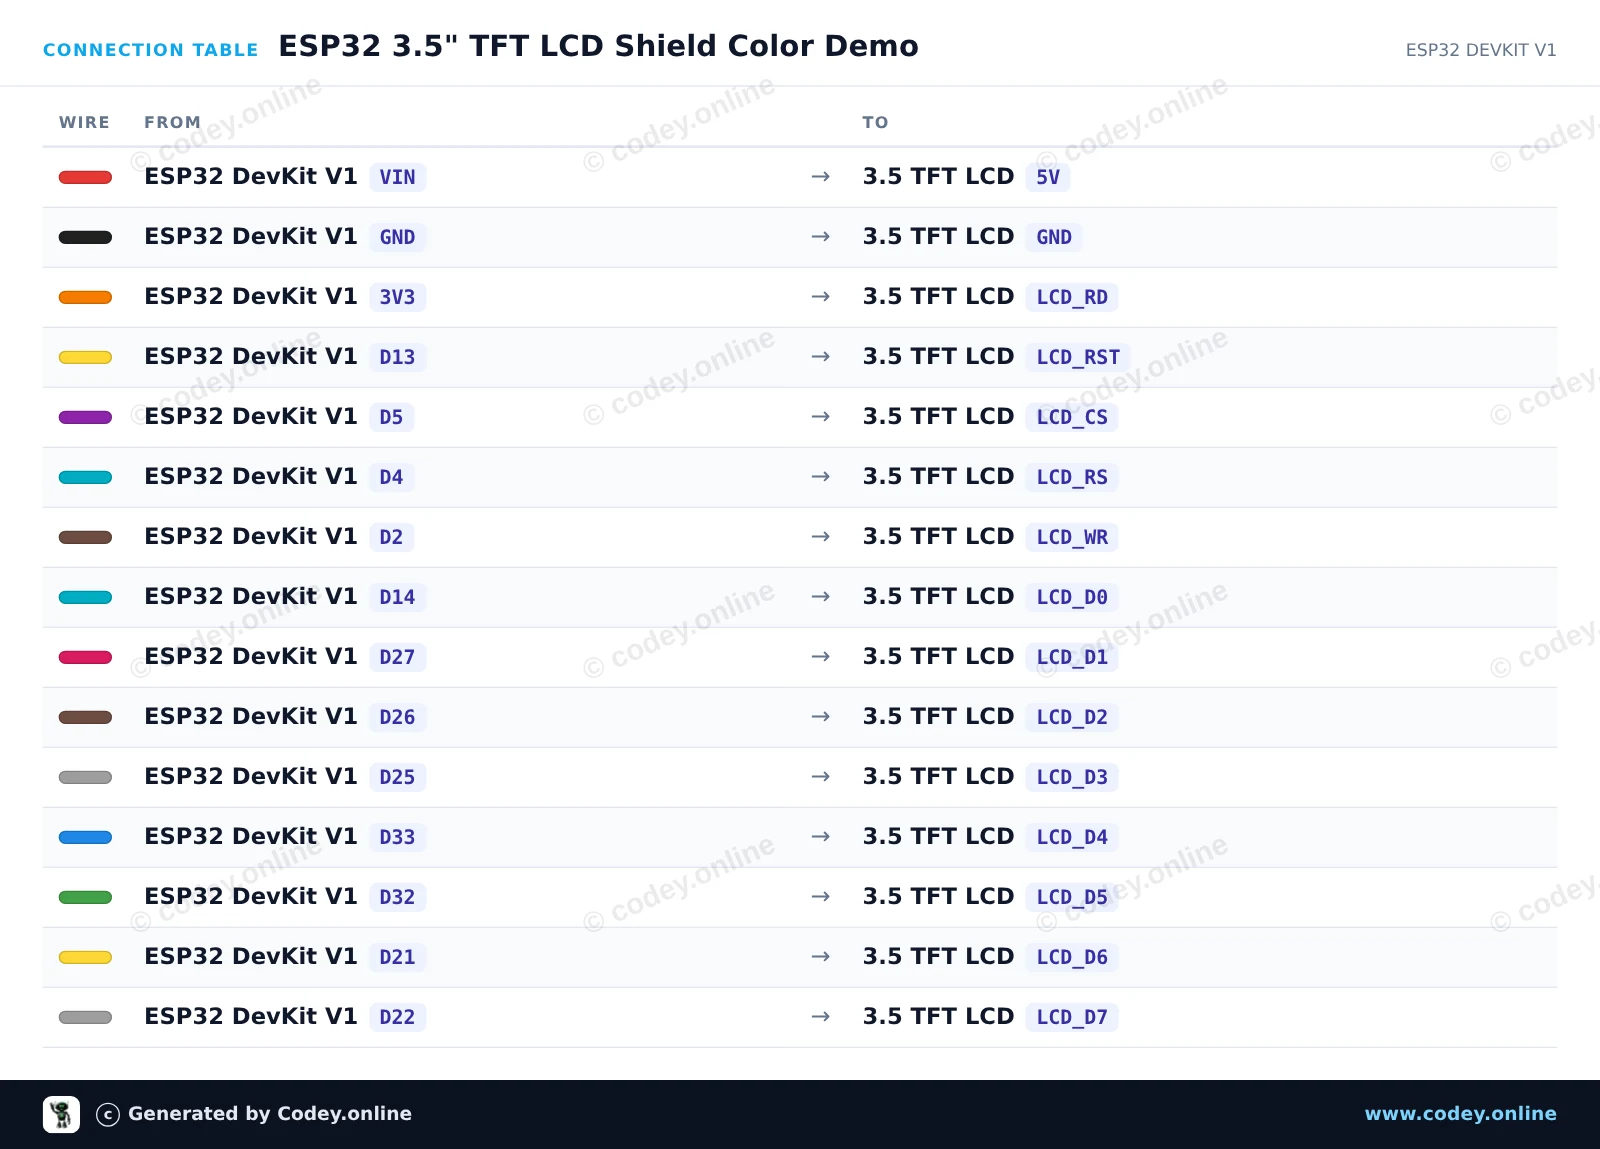
Questo progetto collega uno shield TFT LCD parallelo da 3,5 pollici all’ESP32 e alterna i colori di sfondo. Usa una comunicazione GPIO parallela diretta a 8 bit per resettare, inizializzare e disegnare campi di colore sul display.
/*
 * ==================================================================
 *  Generated by Codey.online  —  https://www.codey.online
 * ==================================================================
 *  Project   : ESP32 3.5" TFT LCD Shield Color Demo
 *  Board     : ESP32 DEVKIT V1 (esp32:esp32:esp32doit-devkit-v1)
 *  Parts     : 3.5 inch TFT LCD Shield
 *  Libraries : none (built-in)
 *
 *  Codey Online is an AI-powered browser IDE for Arduino and ESP32.
 *  Describe your project and Codey writes the code, draws the wiring
 *  diagram and uploads it to your board, straight from the browser.
 *  This code is free to use, modify and share, without warranty.
 * ==================================================================
 */

// 3.5 inch TFT LCD 8-bit Parallel Demo for ESP32

const int PIN_RST = 13;
const int PIN_CS  = 5;
const int PIN_RS  = 4;
const int PIN_WR  = 2;

// 8-bit data bus pins D0 to D7
const int DATA_PINS[8] = {14, 27, 26, 25, 33, 32, 21, 22};

void writeBus(uint8_t val) {
  for (int i = 0; i < 8; i++) {
    digitalWrite(DATA_PINS[i], (val >> i) & 0x01);
  }
  digitalWrite(PIN_WR, LOW);
  digitalWrite(PIN_WR, HIGH);
}

void writeCommand(uint8_t cmd) {
  digitalWrite(PIN_RS, LOW);
  writeBus(cmd);
}

void writeData(uint8_t data) {
  digitalWrite(PIN_RS, HIGH);
  writeBus(data);
}

void setWindow(uint16_t x0, uint16_t y0, uint16_t x1, uint16_t y1) {
  writeCommand(0x2A); // Column addr
  writeData(x0 >> 8);
  writeData(x0 & 0xFF);
  writeData(x1 >> 8);
  writeData(x1 & 0xFF);

  writeCommand(0x2B); // Row addr
  writeData(y0 >> 8);
  writeData(y0 & 0xFF);
  writeData(y1 >> 8);
  writeData(y1 & 0xFF);

  writeCommand(0x2C); // Memory write
}

void fillScreen(uint16_t color) {
  setWindow(0, 0, 319, 479);
  digitalWrite(PIN_RS, HIGH);
  uint8_t hi = color >> 8;
  uint8_t lo = color & 0xFF;
  for (uint32_t i = 0; i < (320UL * 480UL); i++) {
    writeBus(hi);
    writeBus(lo);
  }
}

void initLCD() {
  digitalWrite(PIN_CS, LOW);
  digitalWrite(PIN_RST, HIGH);
  delay(10);
  digitalWrite(PIN_RST, LOW);
  delay(20);
  digitalWrite(PIN_RST, HIGH);
  delay(120);

  writeCommand(0x11); // Sleep OUT
  delay(120);
  writeCommand(0x3A); // Pixel format
  writeData(0x55);   // 16-bit color
  writeCommand(0x29); // Display ON
  delay(50);
}

void setup() {
  Serial.begin(115200);
  Serial.println("Starting 3.5-inch TFT LCD demo...");

  pinMode(PIN_RST, OUTPUT);
  pinMode(PIN_CS, OUTPUT);
  pinMode(PIN_RS, OUTPUT);
  pinMode(PIN_WR, OUTPUT);

  digitalWrite(PIN_CS, HIGH);
  digitalWrite(PIN_WR, HIGH);
  digitalWrite(PIN_RS, HIGH);

  for (int i = 0; i < 8; i++) {
    pinMode(DATA_PINS[i], OUTPUT);
  }

  initLCD();
  Serial.println("Display initialized!");
}

void loop() {
  Serial.println("Color: RED");
  fillScreen(0xF800);
  delay(1000);

  Serial.println("Color: GREEN");
  fillScreen(0x07E0);
  delay(1000);

  Serial.println("Color: BLUE");
  fillScreen(0x001F);
  delay(1000);

  Serial.println("Color: WHITE");
  fillScreen(0xFFFF);
  delay(1000);
}Wiring diagram and example code generated by Codey.online — https://www.codey.online





 English
  Nederlands
  Frans
Frans  Deutsch
  Español
  Suomi
Suomi  Polski
  Dansk
Dansk  Ελληνικά
  Български
  Čeština
  Hrvatski
  Aileen