SKU: OT822-C66 Numero articolo: AA413 EAN: 2268898153460

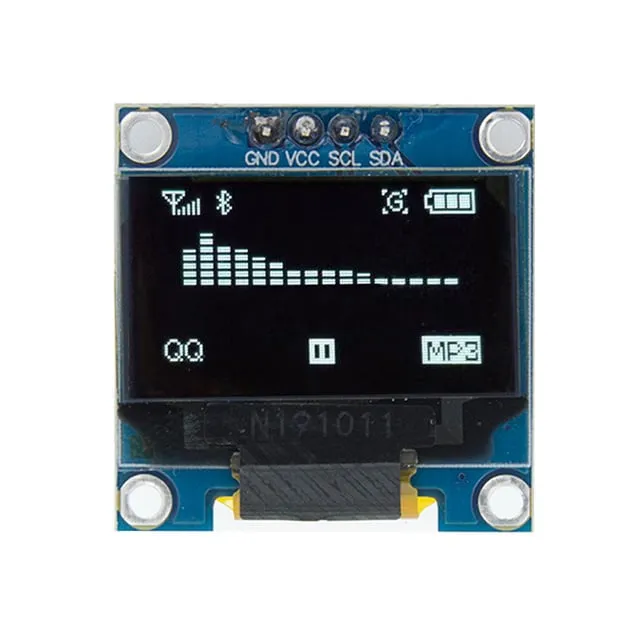
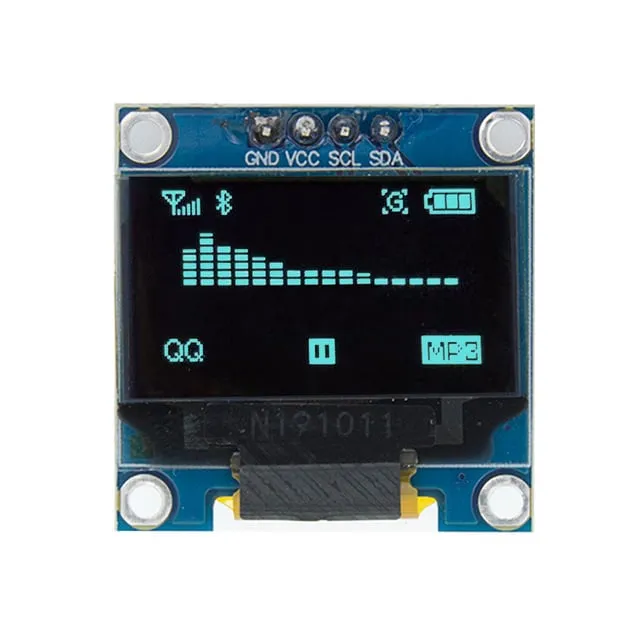
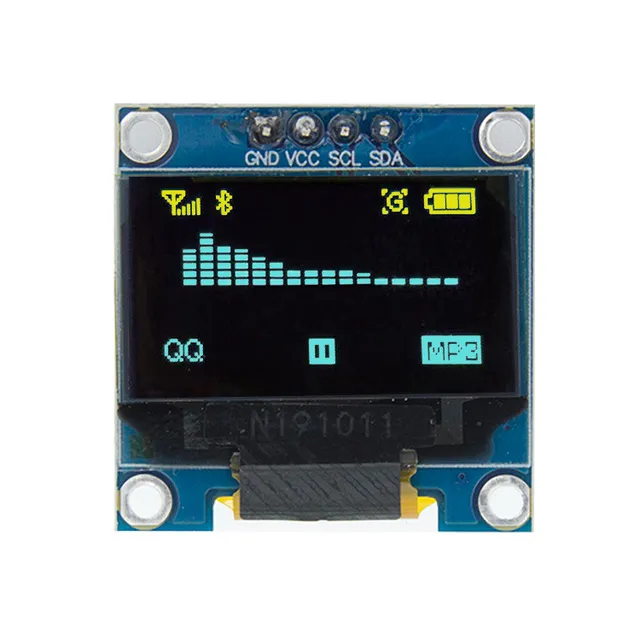
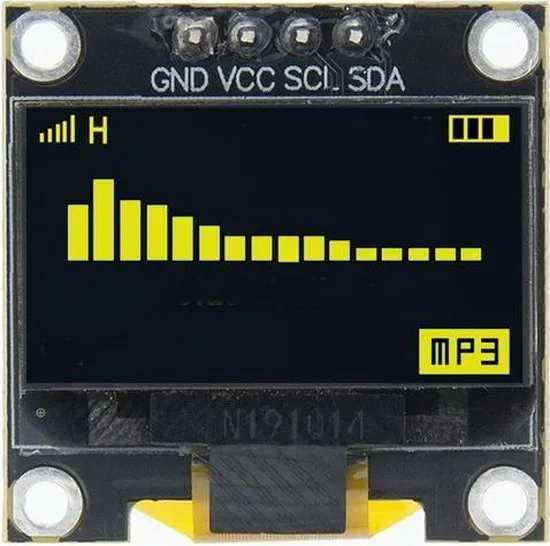
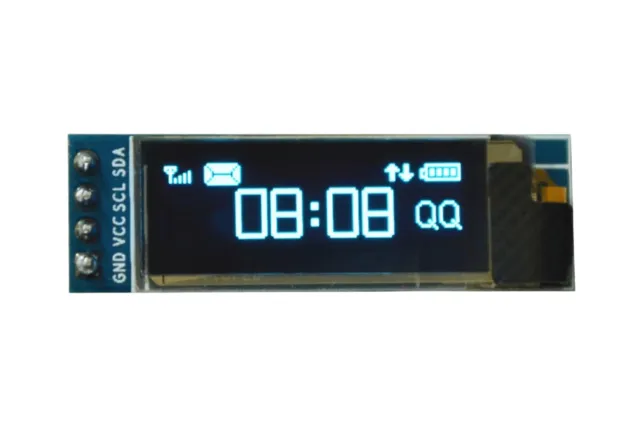
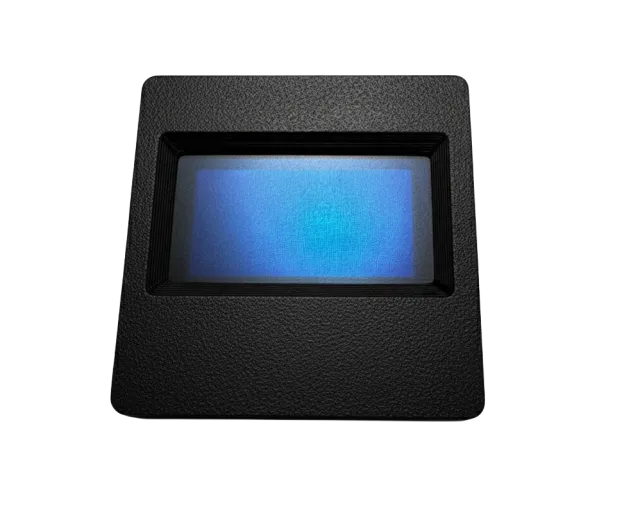
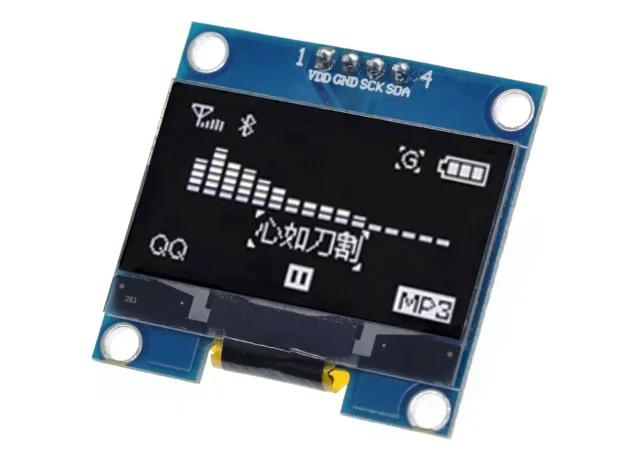
Mini schermo OLED da 0,96 inch. Immagine nitidissima con una risoluzione di 128x64 pixel.
Funziona con un'alimentazione da 3v-5v. Ideale per progetti Arduino o ESP32 / ESP8266.
Le dimensioni di questa scheda sono solo 26,1 x 26,1 x 3,2mm.
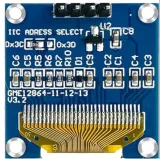
È possibile selezionare 2 indirizzi i2c modificando la resistenza sul retro.
Gli indirizzi disponibili sono: 0x3C (default) e x3D
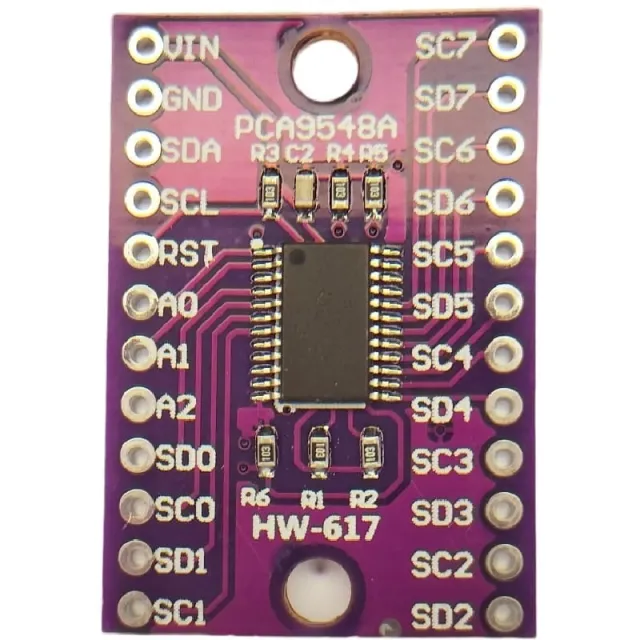
Se desiderate controllare più display OLED o non volete saldare l'SMD, tramite un i2c mutliplexer potete controllare fino a 8 display i2C con lo stesso indirizzo.
vedi qui lo schema di collegamento e il codice di esempio >>>
Dimensioni
Lunghezza: 2,61cm
Larghezza: 2,61cm
Altezza: 0,32cm
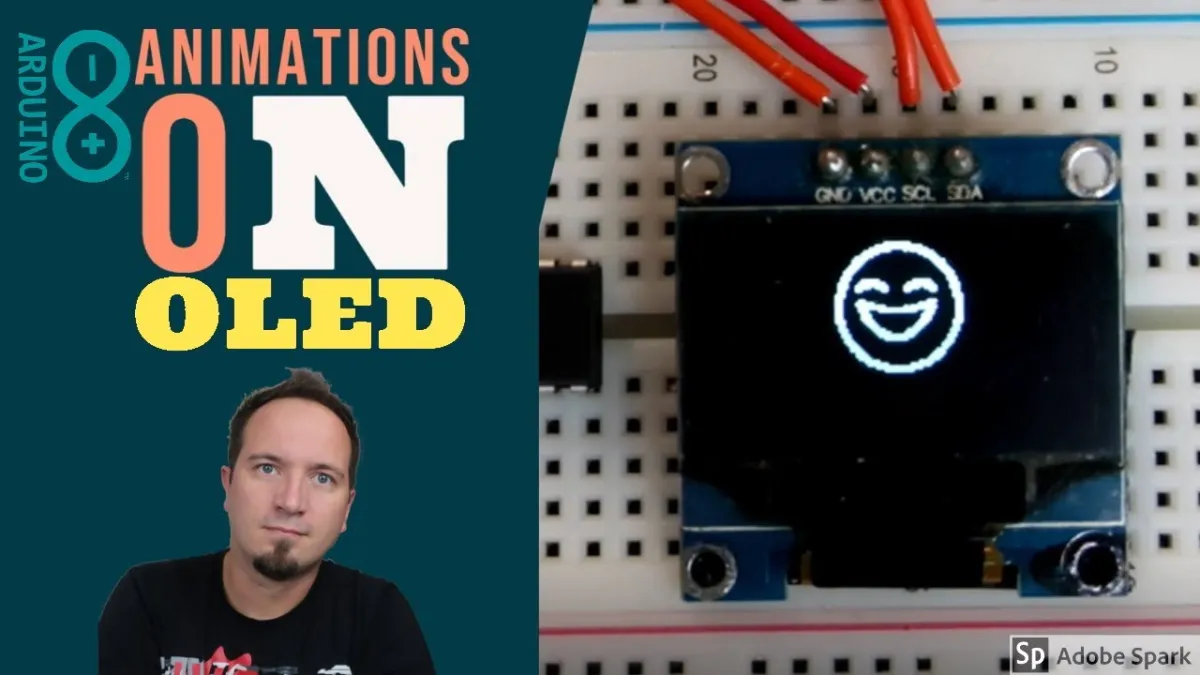
La riproduzione carica il video da YouTube.
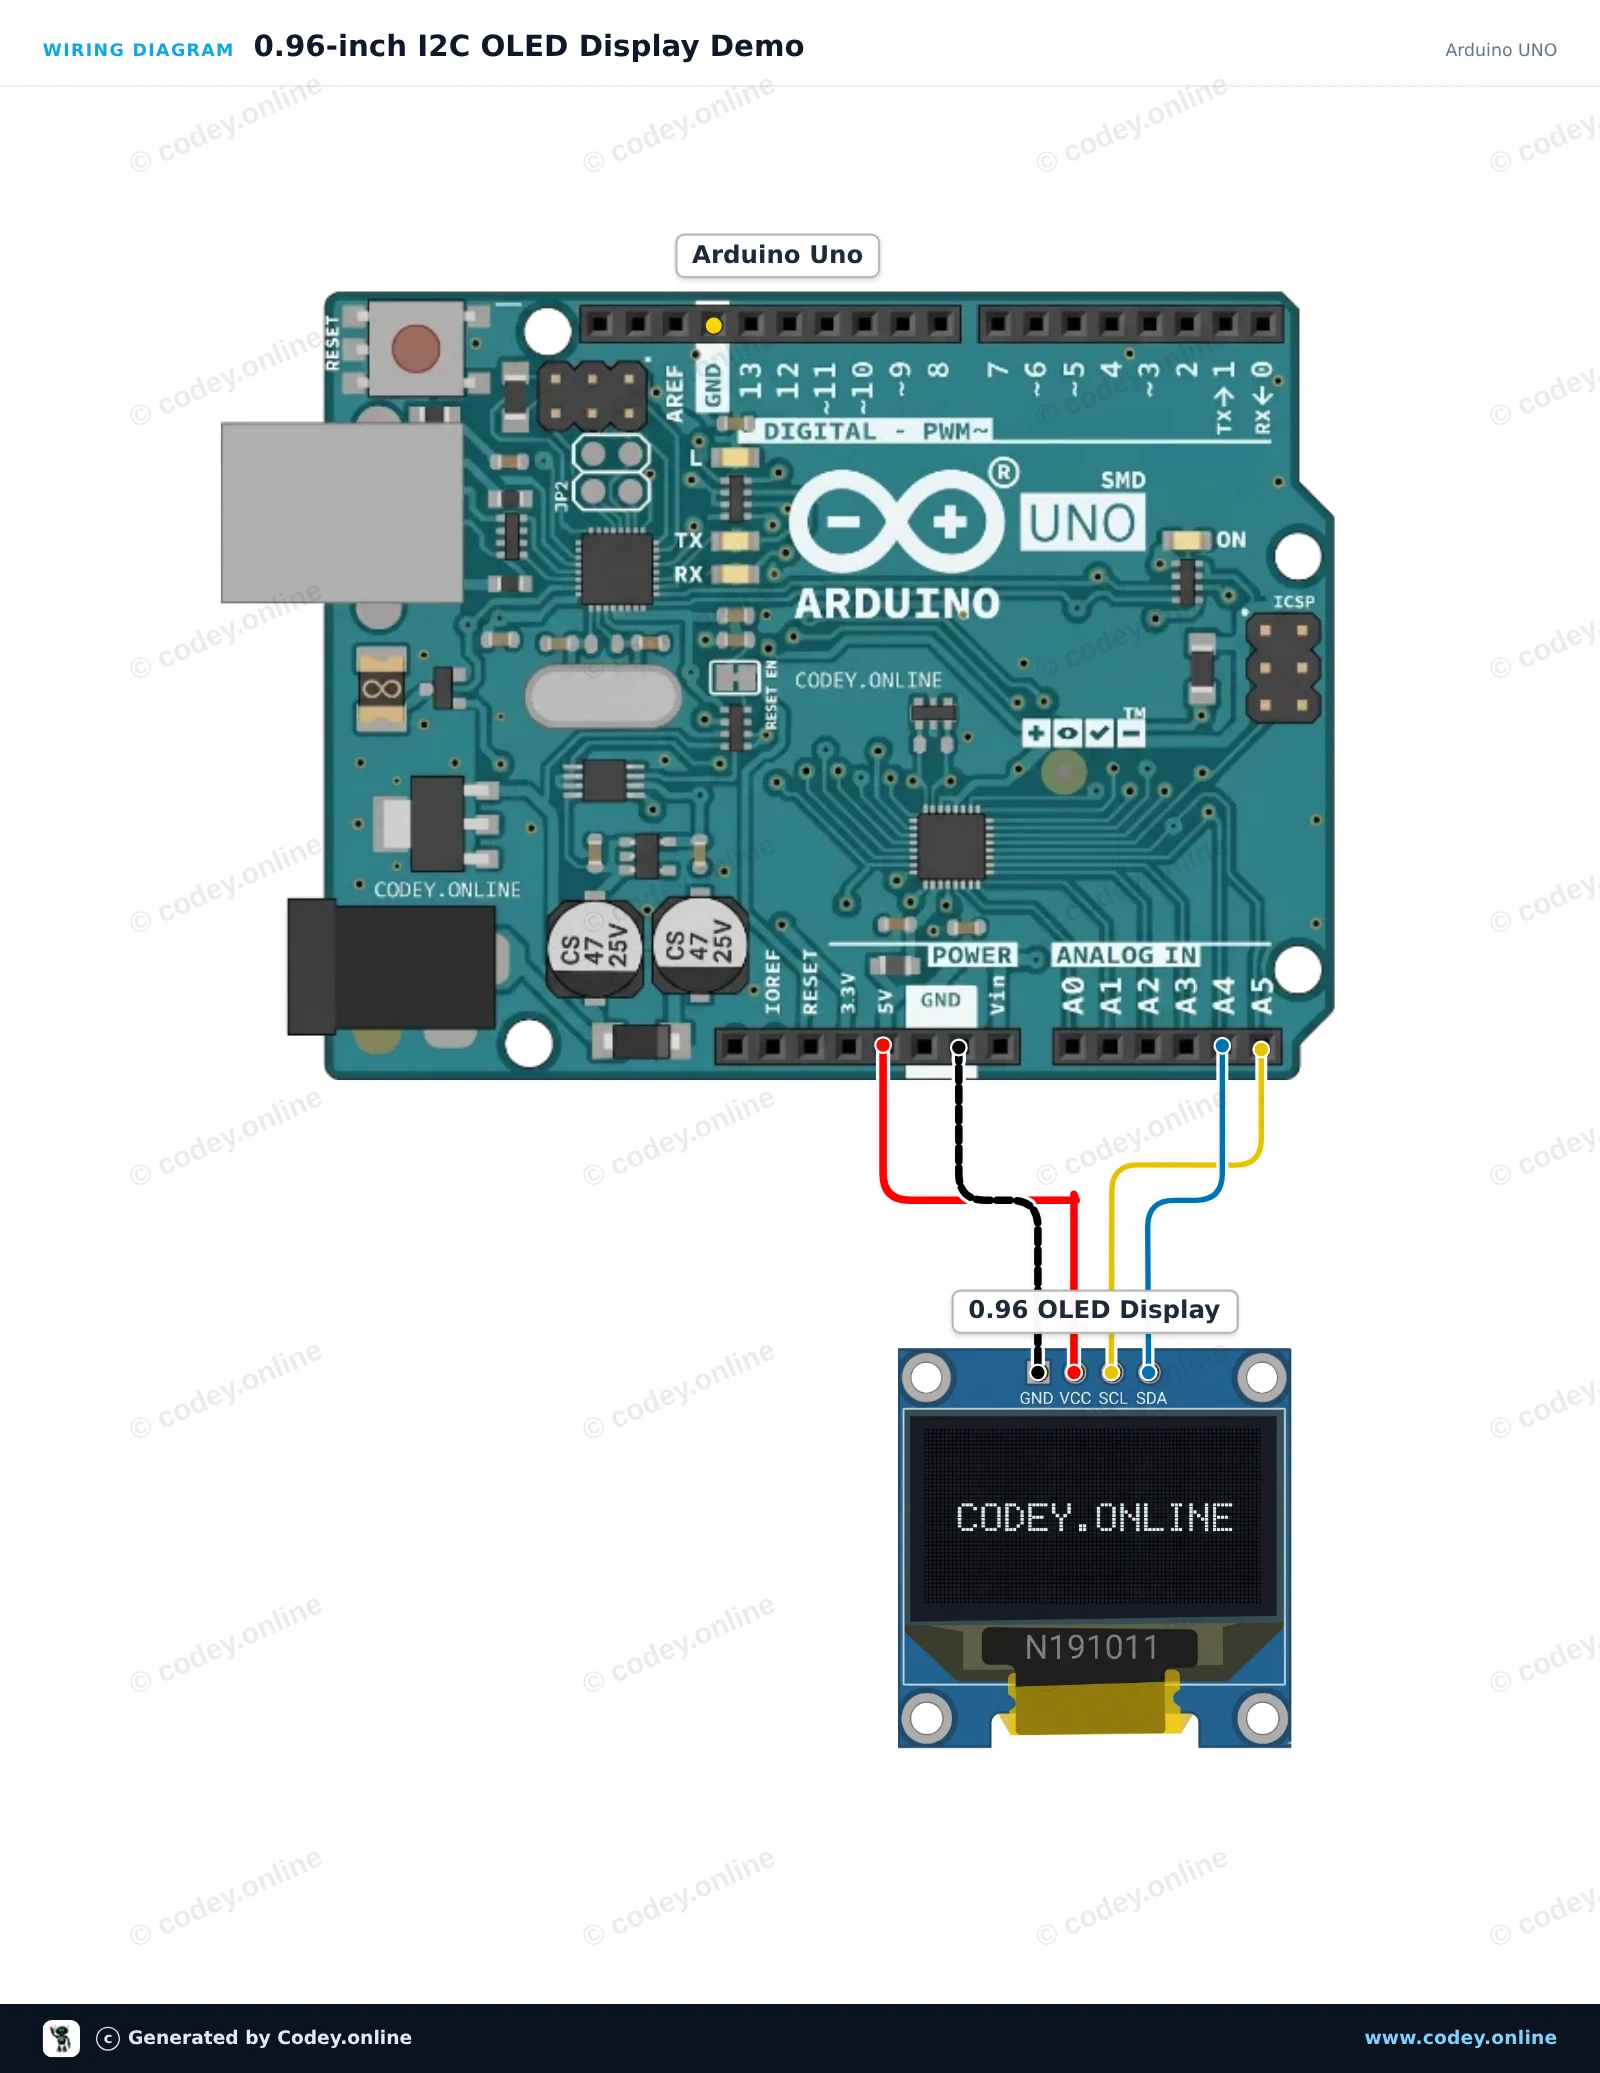
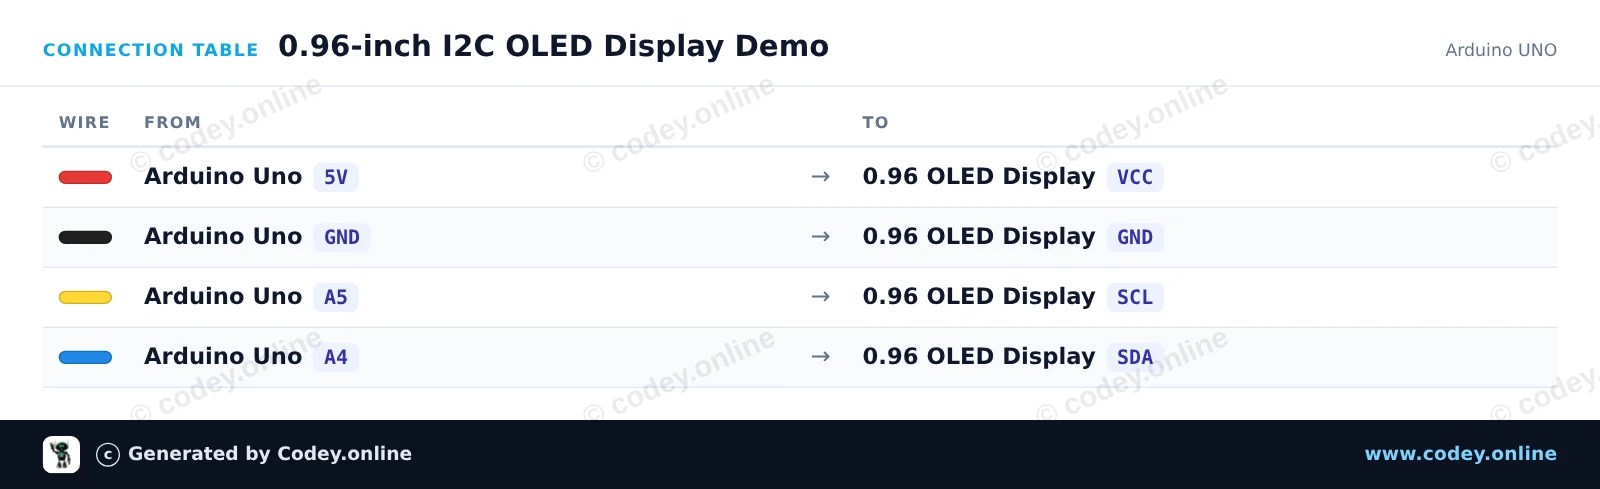
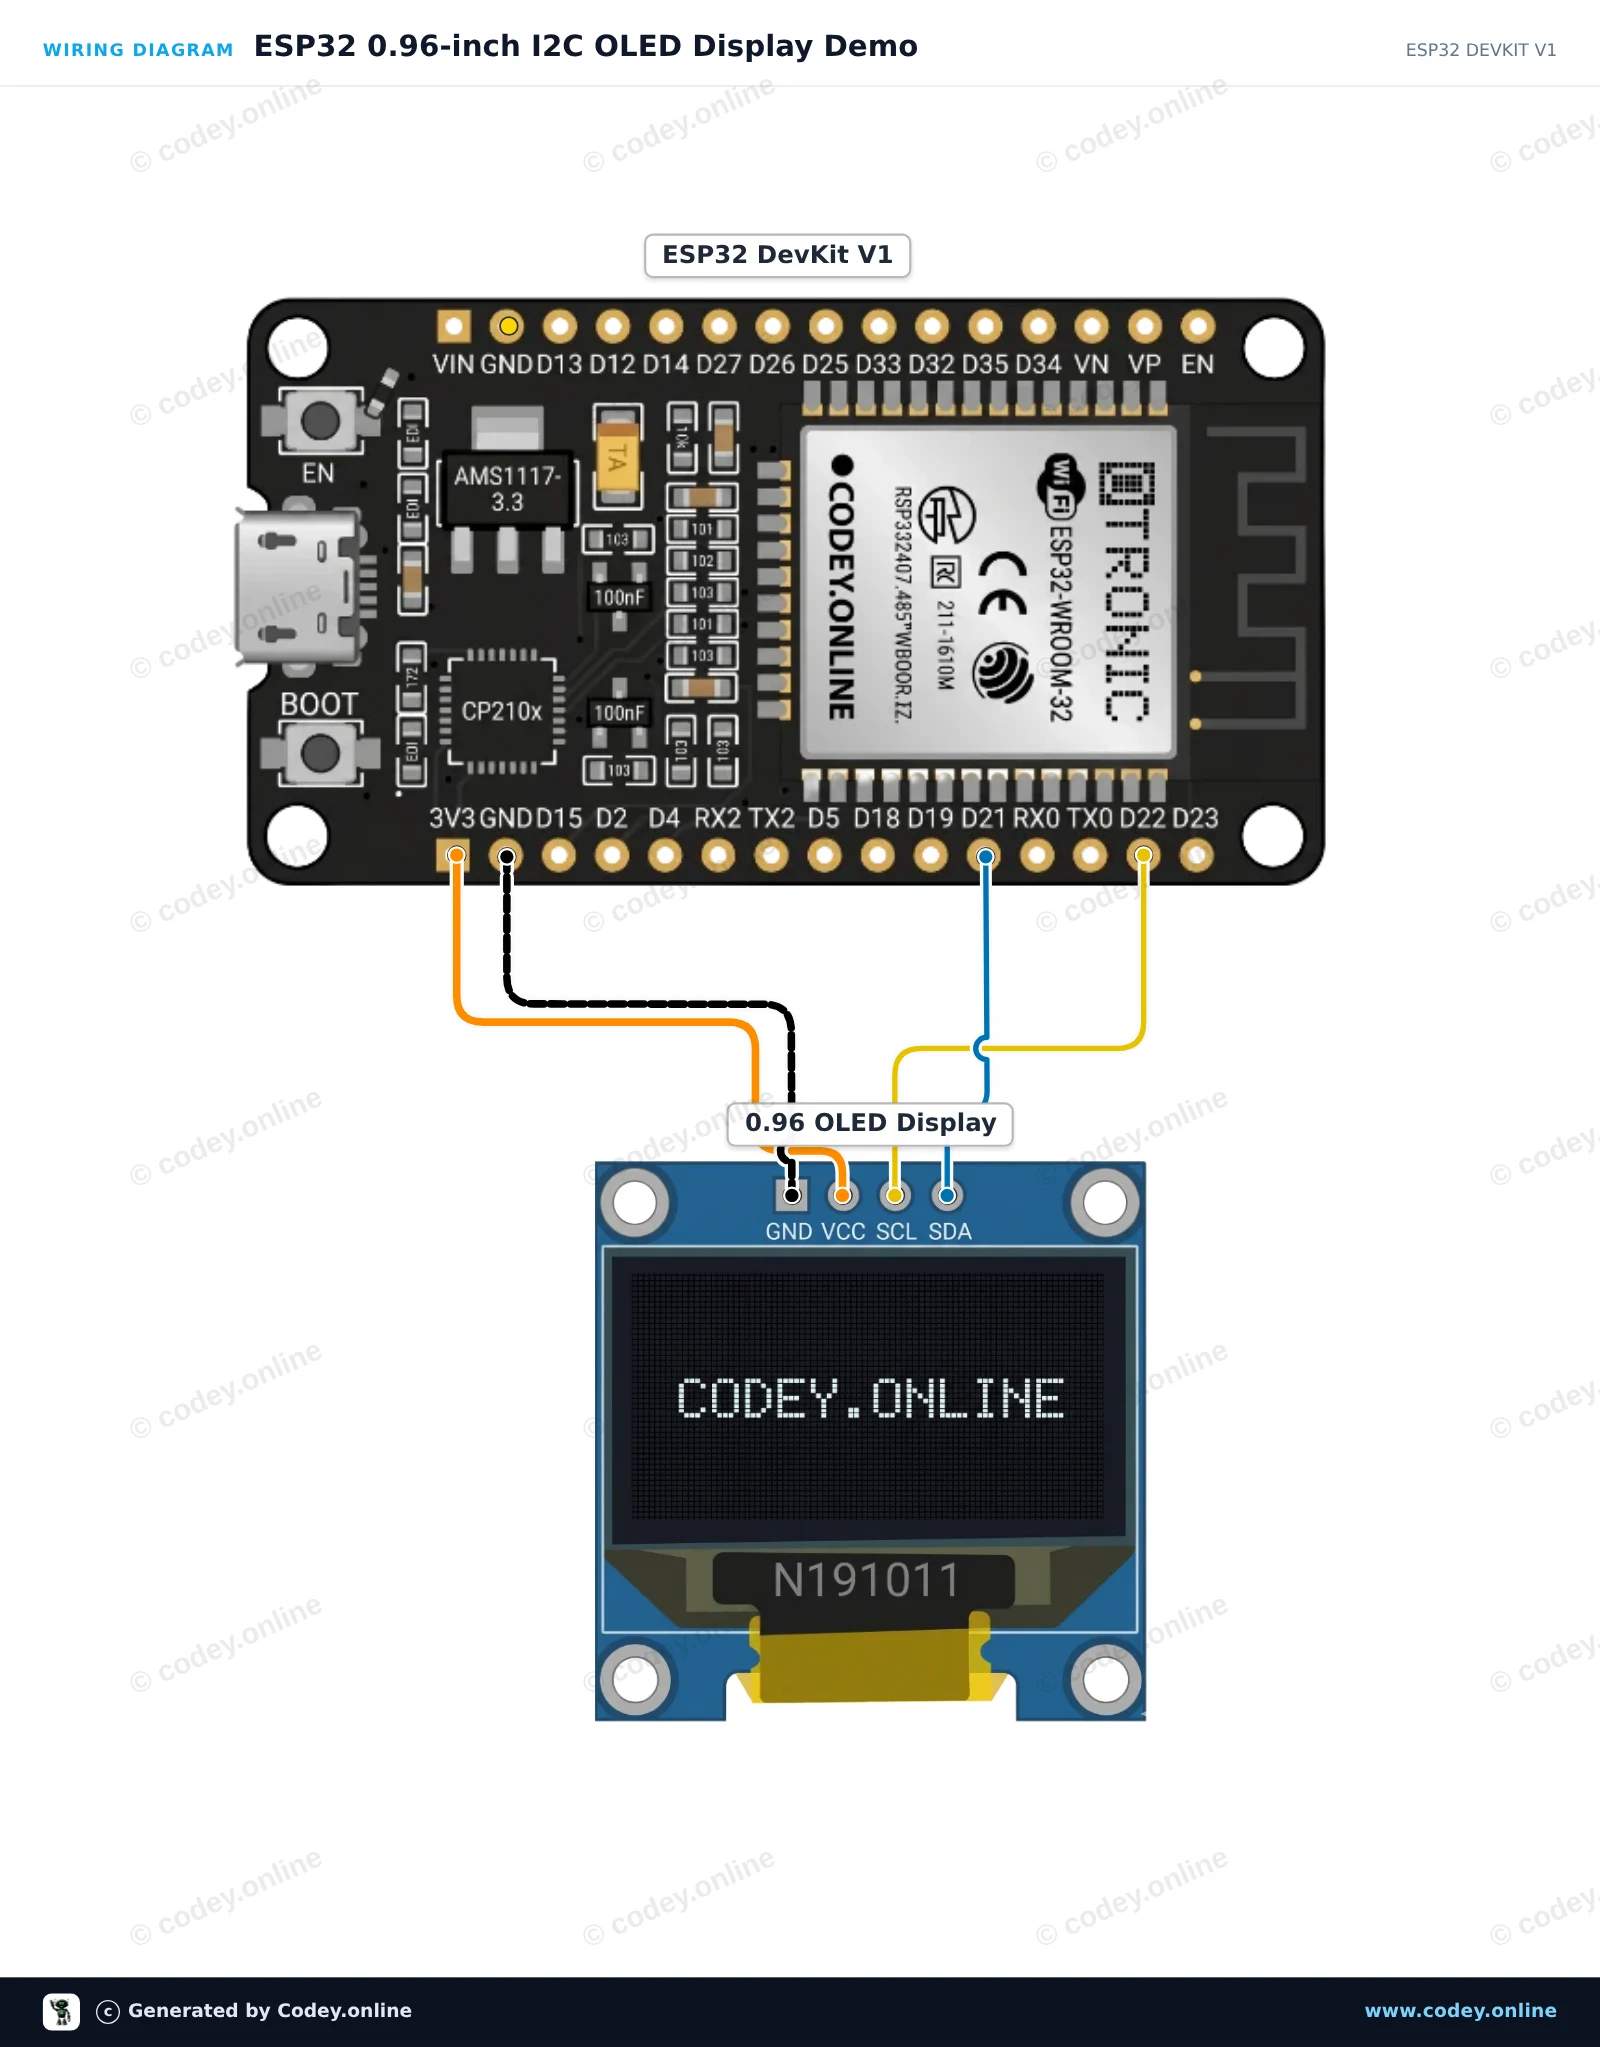
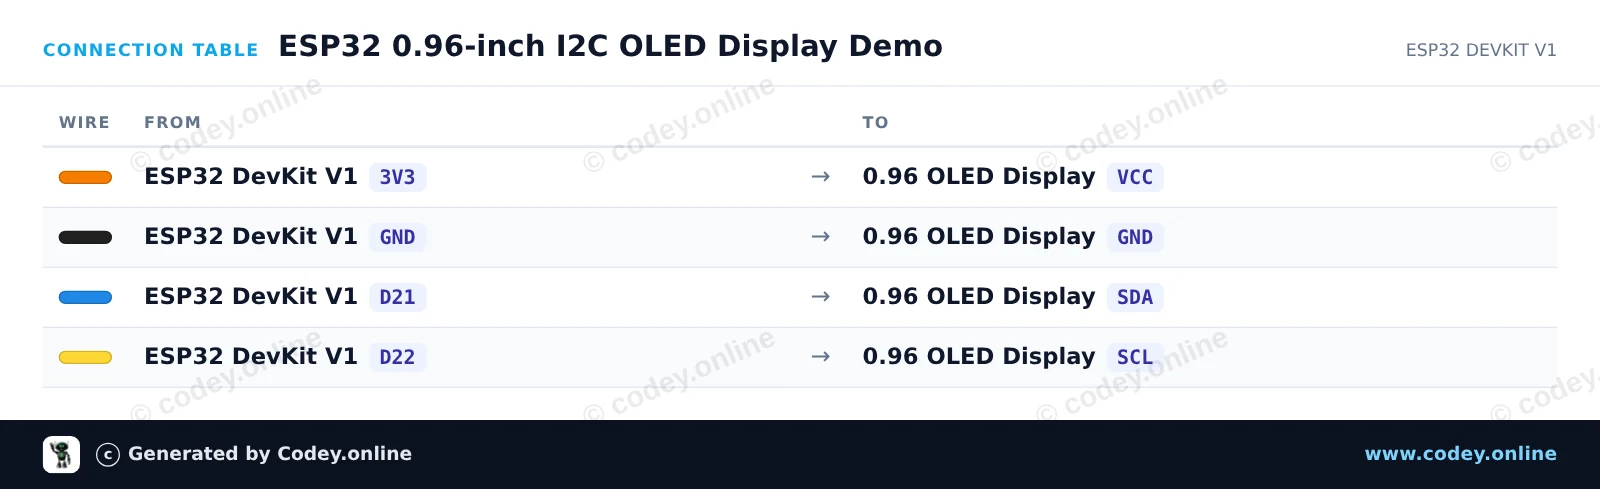
Ecco come collegare il Mini display OLED bianco 0.96 inch 128x64 I2C a un Arduino UNO o ESP32, con uno sketch di esempio che puoi caricare subito.
Collega il display OLED I2C da 0,96 pollici 128x64 direttamente ai pin I2C dell'Arduino Uno (A4 per SDA, A5 per SCL). Questo sketch usa comandi I2C standard per inizializzare il controller SSD1306 e mostra un contatore in tempo reale e del testo direttamente, senza bisogno di librerie grafiche esterne.
/*
 * ==================================================================
 *  Generated by Codey.online  —  https://www.codey.online
 * ==================================================================
 *  Project   : 0.96-inch I2C OLED Display Demo
 *  Board     : Arduino UNO (arduino:avr:uno)
 *  Parts     : OLED Display 0.96 inch
 *  Libraries : none (built-in)
 *
 *  Codey Online is an AI-powered browser IDE for Arduino and ESP32.
 *  Describe your project and Codey writes the code, draws the wiring
 *  diagram and uploads it to your board, straight from the browser.
 *  This code is free to use, modify and share, without warranty.
 * ==================================================================
 */

#include <Wire.h>

const uint8_t OLED_ADDR = 0x3C;
const uint8_t OLED_WIDTH = 128;
const uint8_t OLED_HEIGHT = 64;
uint8_t buffer[1024];
int counter = 0;

const uint8_t font5x7[][5] = {
  {0x00, 0x00, 0x00, 0x00, 0x00}, // space
  {0x7E, 0x11, 0x11, 0x11, 0x7E}, // A
  {0x7F, 0x49, 0x49, 0x49, 0x36}, // B
  {0x3E, 0x41, 0x41, 0x41, 0x22}, // C
  {0x7F, 0x41, 0x41, 0x22, 0x1C}, // D
  {0x7F, 0x49, 0x49, 0x49, 0x41}, // E
  {0x7F, 0x09, 0x09, 0x09, 0x01}, // F
  {0x3E, 0x41, 0x49, 0x49, 0x7A}, // G
  {0x7F, 0x08, 0x08, 0x08, 0x7F}, // H
  {0x00, 0x41, 0x7F, 0x41, 0x00}, // I
  {0x7F, 0x40, 0x40, 0x40, 0x40}, // L
  {0x7F, 0x02, 0x0C, 0x02, 0x7F}, // M
  {0x7F, 0x04, 0x08, 0x10, 0x7F}, // N
  {0x3E, 0x41, 0x41, 0x41, 0x3E}, // O
  {0x7F, 0x09, 0x09, 0x09, 0x06}, // P
  {0x7F, 0x09, 0x19, 0x29, 0x46}, // R
  {0x46, 0x49, 0x49, 0x49, 0x31}, // S
  {0x01, 0x01, 0x7F, 0x01, 0x01}, // T
  {0x3F, 0x40, 0x40, 0x40, 0x3F}, // U
  {0x3E, 0x51, 0x49, 0x45, 0x3E}, // 0
  {0x00, 0x42, 0x7F, 0x40, 0x00}, // 1
  {0x42, 0x61, 0x51, 0x49, 0x46}, // 2
  {0x21, 0x41, 0x45, 0x4B, 0x31}, // 3
  {0x18, 0x14, 0x12, 0x7F, 0x10}, // 4
  {0x27, 0x45, 0x45, 0x45, 0x39}, // 5
  {0x3C, 0x4A, 0x49, 0x49, 0x30}, // 6
  {0x01, 0x71, 0x09, 0x05, 0x03}, // 7
  {0x36, 0x49, 0x49, 0x49, 0x36}, // 8
  {0x06, 0x49, 0x49, 0x29, 0x1E}, // 9
  {0x00, 0x36, 0x36, 0x00, 0x00}, // :
  {0x00, 0x60, 0x60, 0x00, 0x00}  // .
};

int charIndex(char c) {
  if (c >= 'a' && c <= 'z') c -= 32;
  if (c == ' ') return 0;
  if (c == 'A') return 1; if (c == 'B') return 2; if (c == 'C') return 3;
  if (c == 'D') return 4; if (c == 'E') return 5; if (c == 'F') return 6;
  if (c == 'G') return 7; if (c == 'H') return 8; if (c == 'I') return 9;
  if (c == 'L') return 10; if (c == 'M') return 11; if (c == 'N') return 12;
  if (c == 'O') return 13; if (c == 'P') return 14; if (c == 'R') return 15;
  if (c == 'S') return 16; if (c == 'T') return 17; if (c == 'U') return 18;
  if (c >= '0' && c <= '9') return 19 + (c - '0');
  if (c == ':') return 29;
  if (c == '.') return 30;
  return 0;
}

void sendCmd(uint8_t cmd) {
  Wire.beginTransmission(OLED_ADDR);
  Wire.write(0x00);
  Wire.write(cmd);
  Wire.endTransmission();
}

void sendCmd2(uint8_t cmd, uint8_t val) {
  Wire.beginTransmission(OLED_ADDR);
  Wire.write(0x00);
  Wire.write(cmd);
  Wire.write(val);
  Wire.endTransmission();
}

void clearDisplay() {
  memset(buffer, 0, sizeof(buffer));
}

void setPixel(int x, int y, bool state) {
  if (x < 0 || x >= OLED_WIDTH || y < 0 || y >= OLED_HEIGHT) return;
  int idx = x + (y / 8) * OLED_WIDTH;
  if (state) buffer[idx] |= (1 << (y % 8));
  else buffer[idx] &= ~(1 << (y % 8));
}

void printText(int x, int y, const char* str) {
  while (*str) {
    int idx = charIndex(*str++);
    for (int col = 0; col < 5; col++) {
      uint8_t line = font5x7[idx][col];
      for (int row = 0; row < 7; row++) {
        setPixel(x + col, y + row, (line >> row) & 1);
      }
    }
    x += 6;
  }
}

void updateDisplay() {
  sendCmd(0x20); sendCmd(0x00);
  sendCmd2(0x21, 0x00); sendCmd(0x7F);
  sendCmd2(0x22, 0x00); sendCmd(0x07);
  for (uint16_t i = 0; i < 1024; i += 16) {
    Wire.beginTransmission(OLED_ADDR);
    Wire.write(0x40);
    for (uint8_t j = 0; j < 16; j++) {
      Wire.write(buffer[i + j]);
    }
    Wire.endTransmission();
  }
}

void setup() {
  Serial.begin(115200);
  Wire.begin();
  delay(50);
  sendCmd(0xAE); sendCmd2(0xD5, 0x80); sendCmd2(0xA8, 0x3F);
  sendCmd2(0xD3, 0x00); sendCmd(0x40); sendCmd2(0x8D, 0x14);
  sendCmd(0xA1); sendCmd(0xC8); sendCmd2(0xDA, 0x12);
  sendCmd2(0x81, 0xCF); sendCmd2(0xD9, 0xF1); sendCmd2(0xDB, 0x40);
  sendCmd(0xA4); sendCmd(0xA6); sendCmd(0xAF);
  Serial.println(F("OLED Initialized"));
}

void loop() {
  clearDisplay();
  printText(0, 0, "OLED 0.96 INCH");
  printText(0, 16, "ARDUINO UNO");

  char buf[16];
  itoa(counter, buf, 10);
  printText(0, 32, "COUNT: ");
  printText(42, 32, buf);

  int barWidth = (counter % 120);
  for (int x = 0; x <= barWidth; x++) {
    for (int y = 48; y < 58; y++) {
      setPixel(x, y, true);
    }
  }

  updateDisplay();
  counter++;
  delay(100);
}Wiring diagram and example code generated by Codey.online — https://www.codey.online
Questo progetto mostra come collegare e visualizzare testo e numeri su un display OLED I2C da 0.96-inch usando ESP32. Lo sketch inizializza il display e aggiorna ogni secondo un contatore in tempo reale. Assicurati di installare le librerie Adafruit SSD1306 e Adafruit GFX prima del caricamento.
/*
 * ==================================================================
 *  Generated by Codey.online  —  https://www.codey.online
 * ==================================================================
 *  Project   : ESP32 0.96-inch I2C OLED Display Demo
 *  Board     : ESP32 DEVKIT V1 (esp32:esp32:esp32doit-devkit-v1)
 *  Parts     : OLED Display 0.96 inch
 *  Libraries : Adafruit SSD1306 2.5.16, Adafruit GFX Library 1.12.6
 *
 *  Codey Online is an AI-powered browser IDE for Arduino and ESP32.
 *  Describe your project and Codey writes the code, draws the wiring
 *  diagram and uploads it to your board, straight from the browser.
 *  This code is free to use, modify and share, without warranty.
 * ==================================================================
 */

#include <Wire.h>
#include <Adafruit_GFX.h>
#include <Adafruit_SSD1306.h>

#define SCREEN_WIDTH 128
#define SCREEN_HEIGHT 64
#define OLED_RESET    -1
#define SCREEN_ADDRESS 0x3C

Adafruit_SSD1306 display(SCREEN_WIDTH, SCREEN_HEIGHT, &Wire, OLED_RESET);

int counter = 0;

void setup() {
  Serial.begin(115200);

  // Initialize I2C on ESP32 default pins (SDA: 21, SCL: 22)
  Wire.begin(21, 22);

  if (!display.begin(SSD1306_SWITCHCAPVCC, SCREEN_ADDRESS)) {
    Serial.println(F("SSD1306 allocation failed"));
    while (true); // Freeze
  }

  display.clearDisplay();
  display.setTextColor(SSD1306_WHITE);
  display.setTextSize(1);
  display.setCursor(0, 0);
  display.println("ESP32 OLED Test");
  display.display();
  delay(1500);
}

void loop() {
  display.clearDisplay();

  // Header text
  display.setTextSize(1);
  display.setCursor(0, 0);
  display.println("ESP32 + SSD1306");

  // Separator line
  display.drawLine(0, 12, 127, 12, SSD1306_WHITE);

  // Counter display
  display.setCursor(0, 20);
  display.println("Counter value:");

  display.setTextSize(2);
  display.setCursor(0, 36);
  display.print(counter);

  display.display();

  counter++;
  delay(1000);
}Librerie necessarie: Adafruit SSD1306 2.5.16, Adafruit GFX Library 1.12.6
Wiring diagram and example code generated by Codey.online — https://www.codey.online





 English
  Nederlands
  Frans
Frans  Deutsch
  Español
  Suomi
Suomi  Polski
  Dansk
Dansk  Ελληνικά
  Български
  Čeština
  Hrvatski
  Aileen