SKU: OT812-C62 Numero articolo: AA321 EAN: 8720589817081

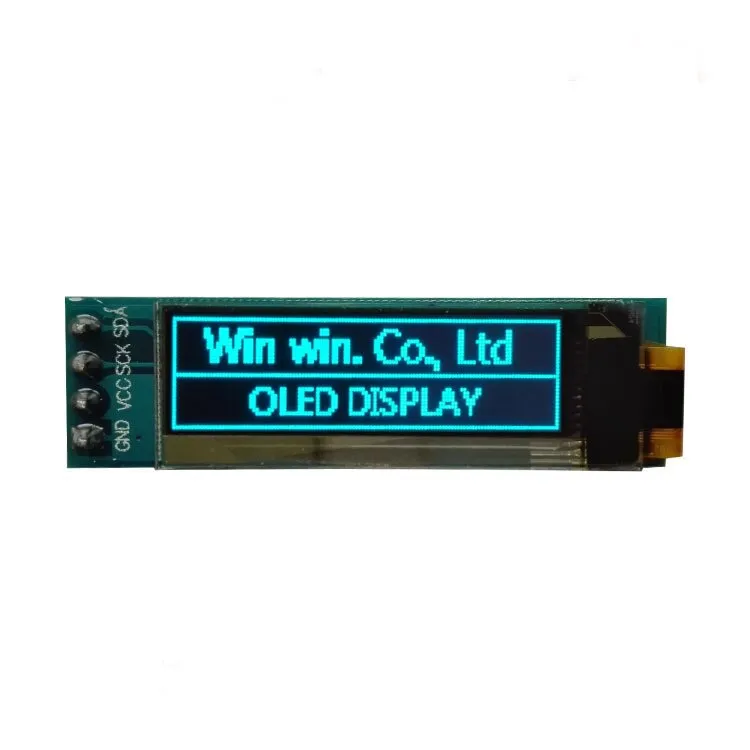
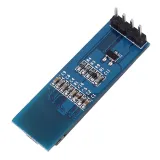
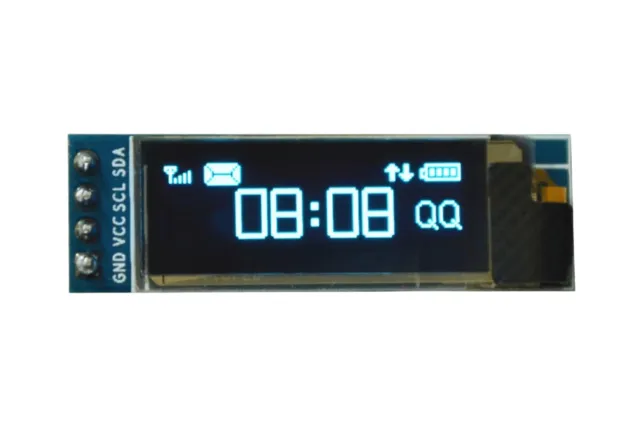
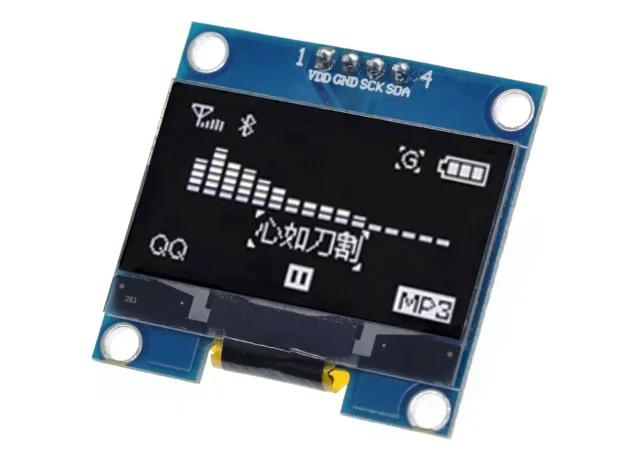
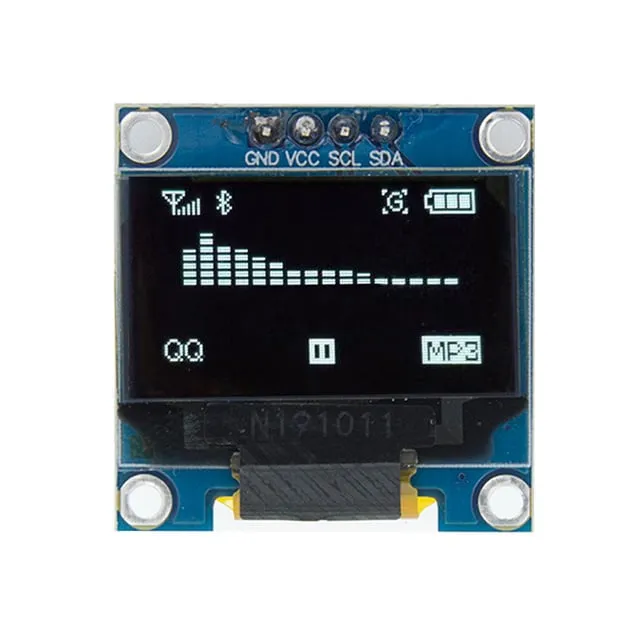
Schermetto mini OLED da 0,91 inch. Immagine nitidissima con una risoluzione di 128x32 pixel.
Funziona con un'alimentazione da 3v-5v. Ideale per progetti Arduino o ESP32 / ESP8266.
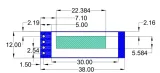
Le dimensioni di questa scheda sono solo 38 x 12 x 3,3mm.
Afmetingen
Lengte: 3,8cm
Breedte: 1,2cm
Hoogte: 0,33cm
Ecco come collegare il Mini display OLED blu 0.91 inch 128x32 I2C a un Arduino UNO o ESP32, con uno sketch di esempio che puoi caricare subito.
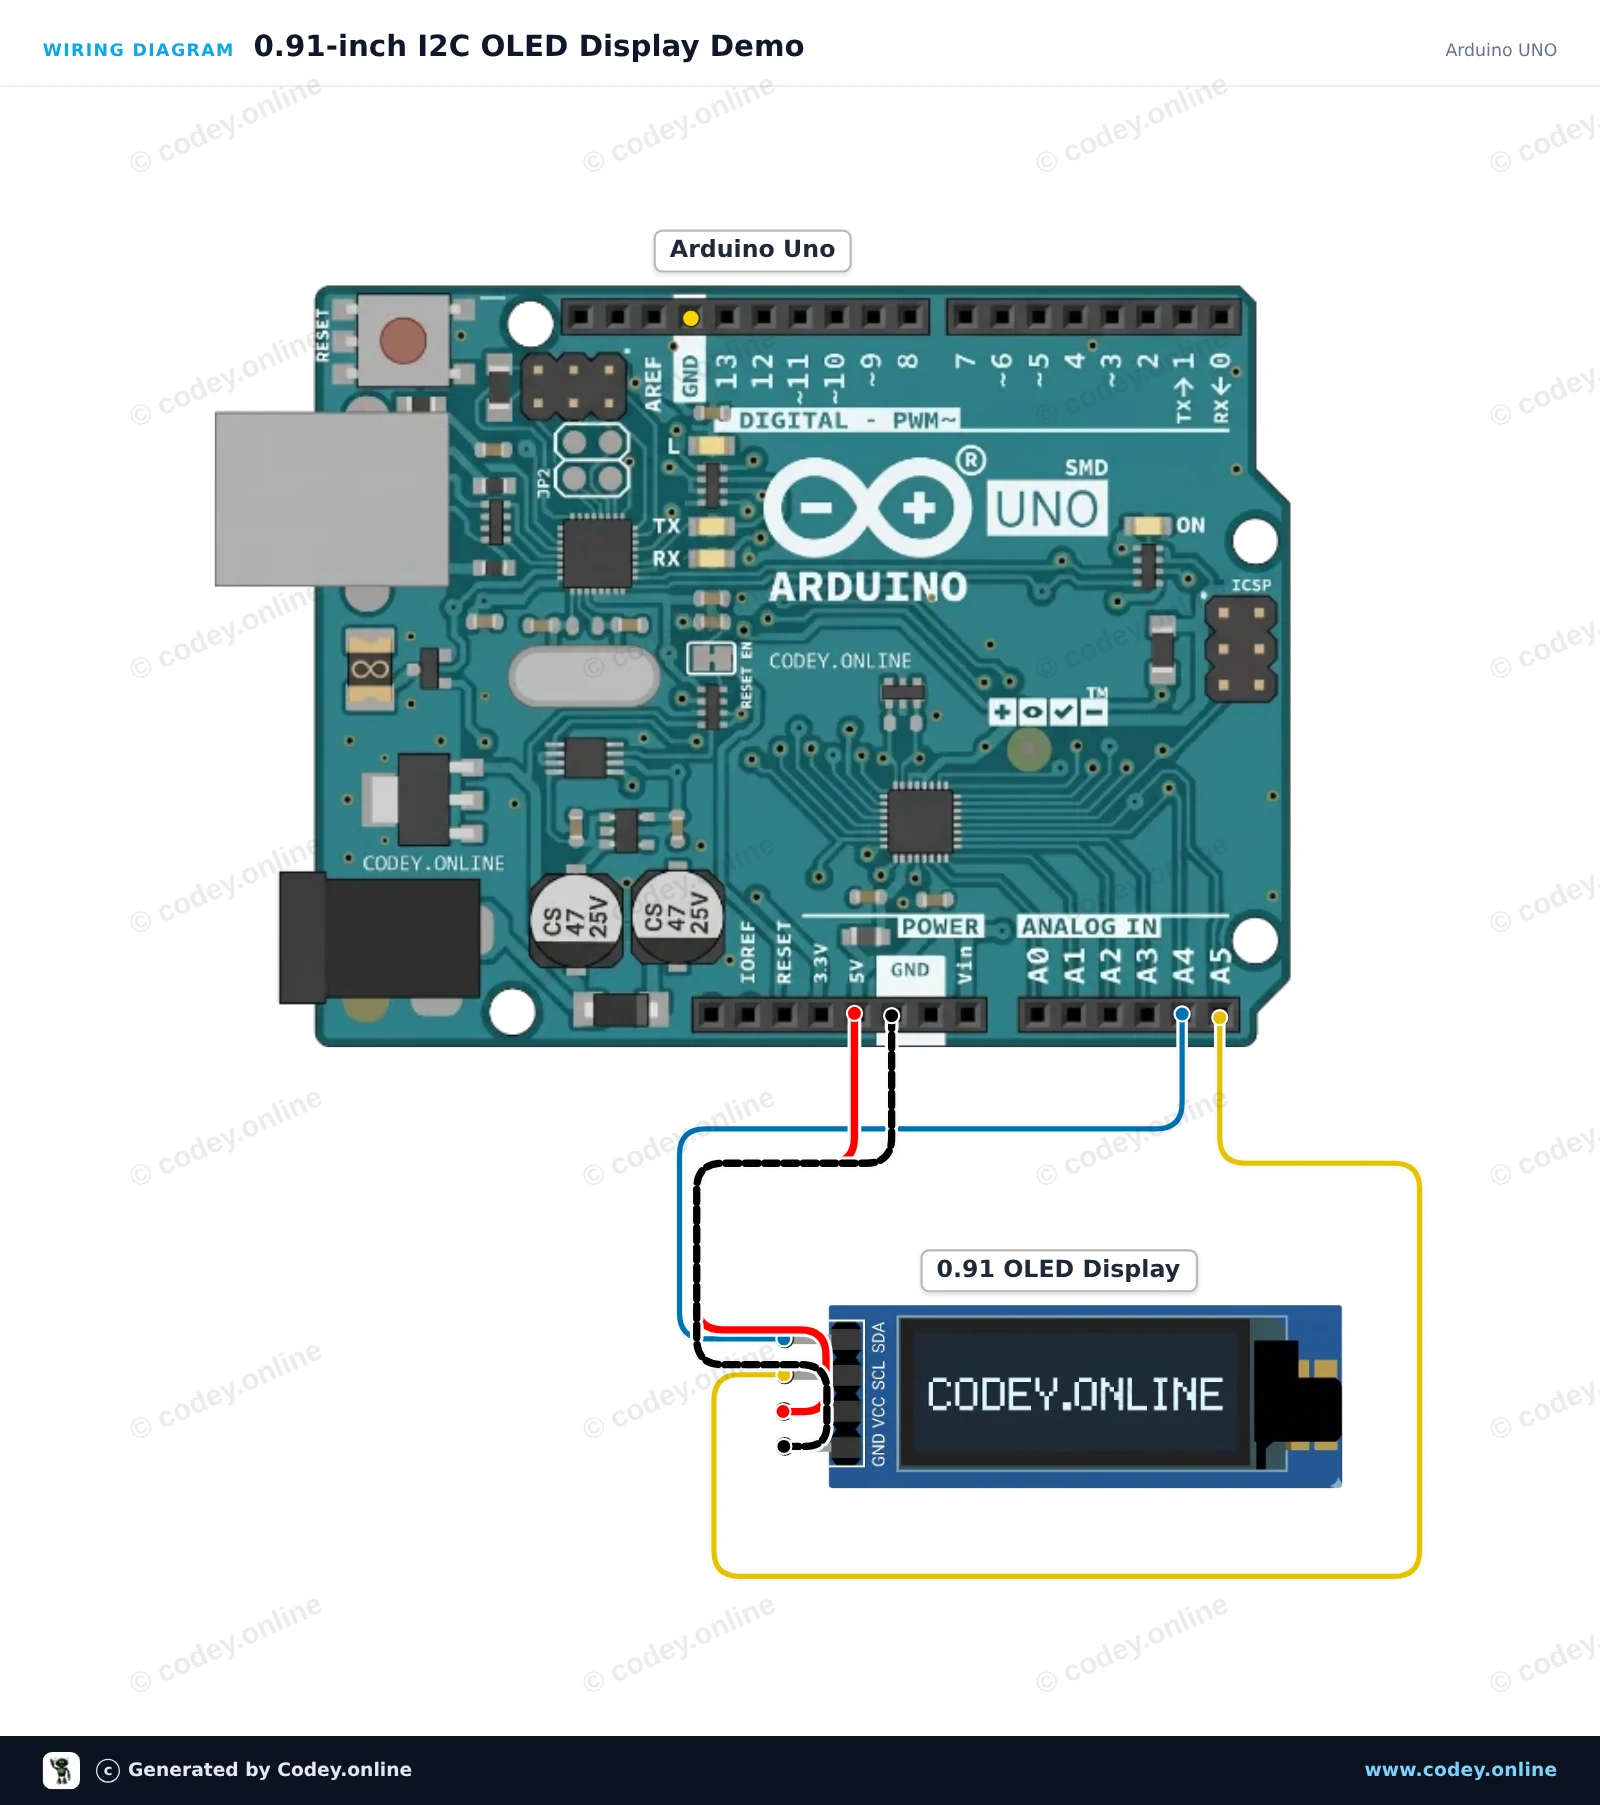
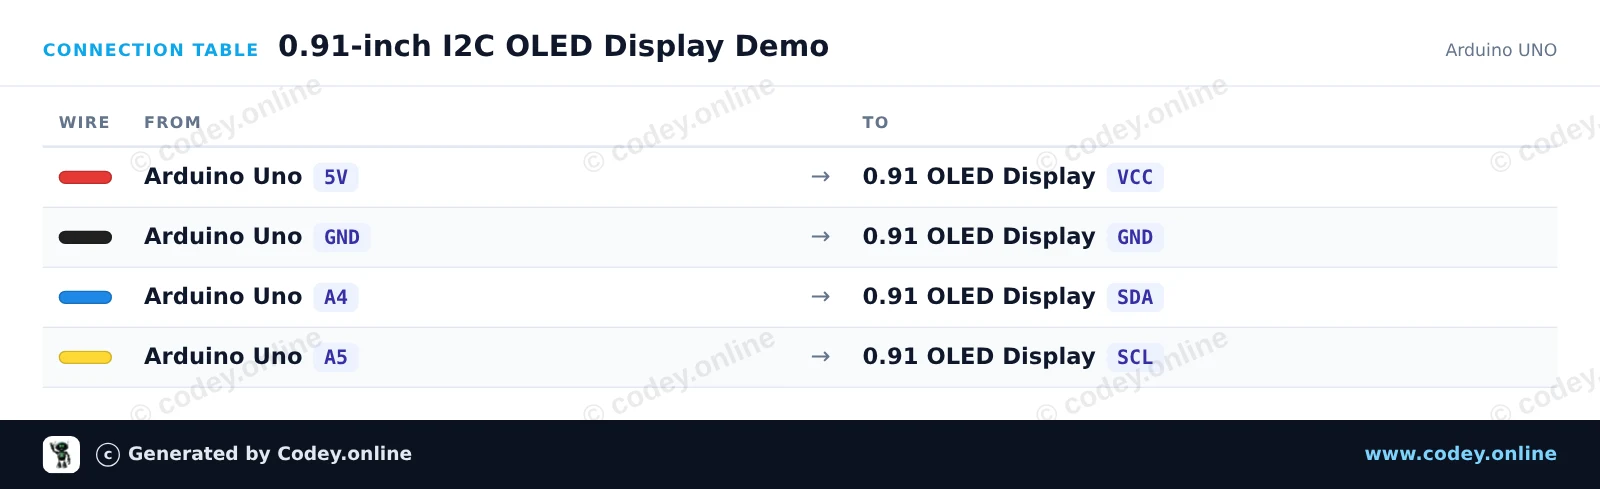
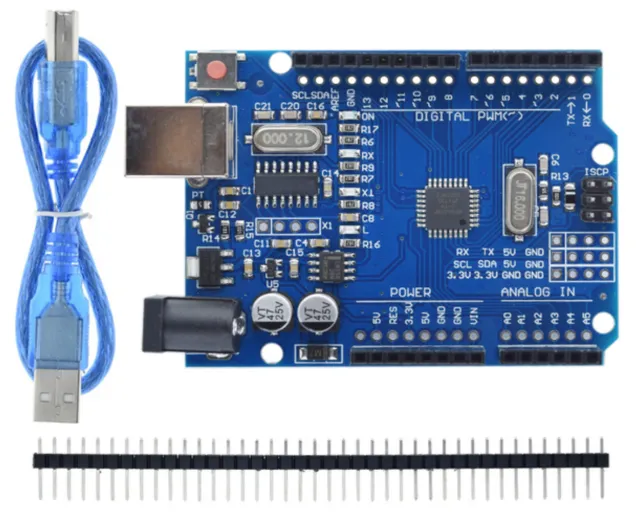
Questo progetto mostra come collegare e visualizzare testo e un contatore attivo su un display OLED I2C da 0,91 pollici (128x32). Il display si collega direttamente ai pin I2C dell’Arduino Uno (A4 per SDA, A5 per SCL). Una volta alimentato, il display mostra un banner del titolo e aggiorna un contatore dei secondi in esecuzione.
/*
 * ==================================================================
 *  Generated by Codey.online  —  https://www.codey.online
 * ==================================================================
 *  Project   : 0.91-inch I2C OLED Display Demo
 *  Board     : Arduino UNO (arduino:avr:uno)
 *  Parts     : OLED Display 0.91 inch
 *  Libraries : U8g2 2.36.19
 *
 *  Codey Online is an AI-powered browser IDE for Arduino and ESP32.
 *  Describe your project and Codey writes the code, draws the wiring
 *  diagram and uploads it to your board, straight from the browser.
 *  This code is free to use, modify and share, without warranty.
 * ==================================================================
 */

#include <Wire.h>
#include <U8g2lib.h>

// 0.91" OLED display is a 128x32 SSD1306 I2C module
U8G2_SSD1306_128X32_UNIVISION_F_HW_I2C u8g2(U8G2_R0, /* reset=*/ U8X8_PIN_NONE);

unsigned long seconds = 0;

void setup() {
  Wire.begin();
  u8g2.begin();
}

void loop() {
  u8g2.clearBuffer();

  // Header text
  u8g2.setFont(u8g2_font_6x10_tr);
  u8g2.drawStr(0, 10, "0.91\" OLED Demo");

  // Separator line
  u8g2.drawHLine(0, 14, 128);

  // Uptime counter
  u8g2.drawStr(0, 28, "Uptime: ");
  u8g2.setCursor(50, 28);
  u8g2.print(seconds);
  u8g2.print(" s");

  u8g2.sendBuffer();

  seconds++;
  delay(1000);
}Librerie necessarie: U8g2 2.36.19
Wiring diagram and example code generated by Codey.online — https://www.codey.online
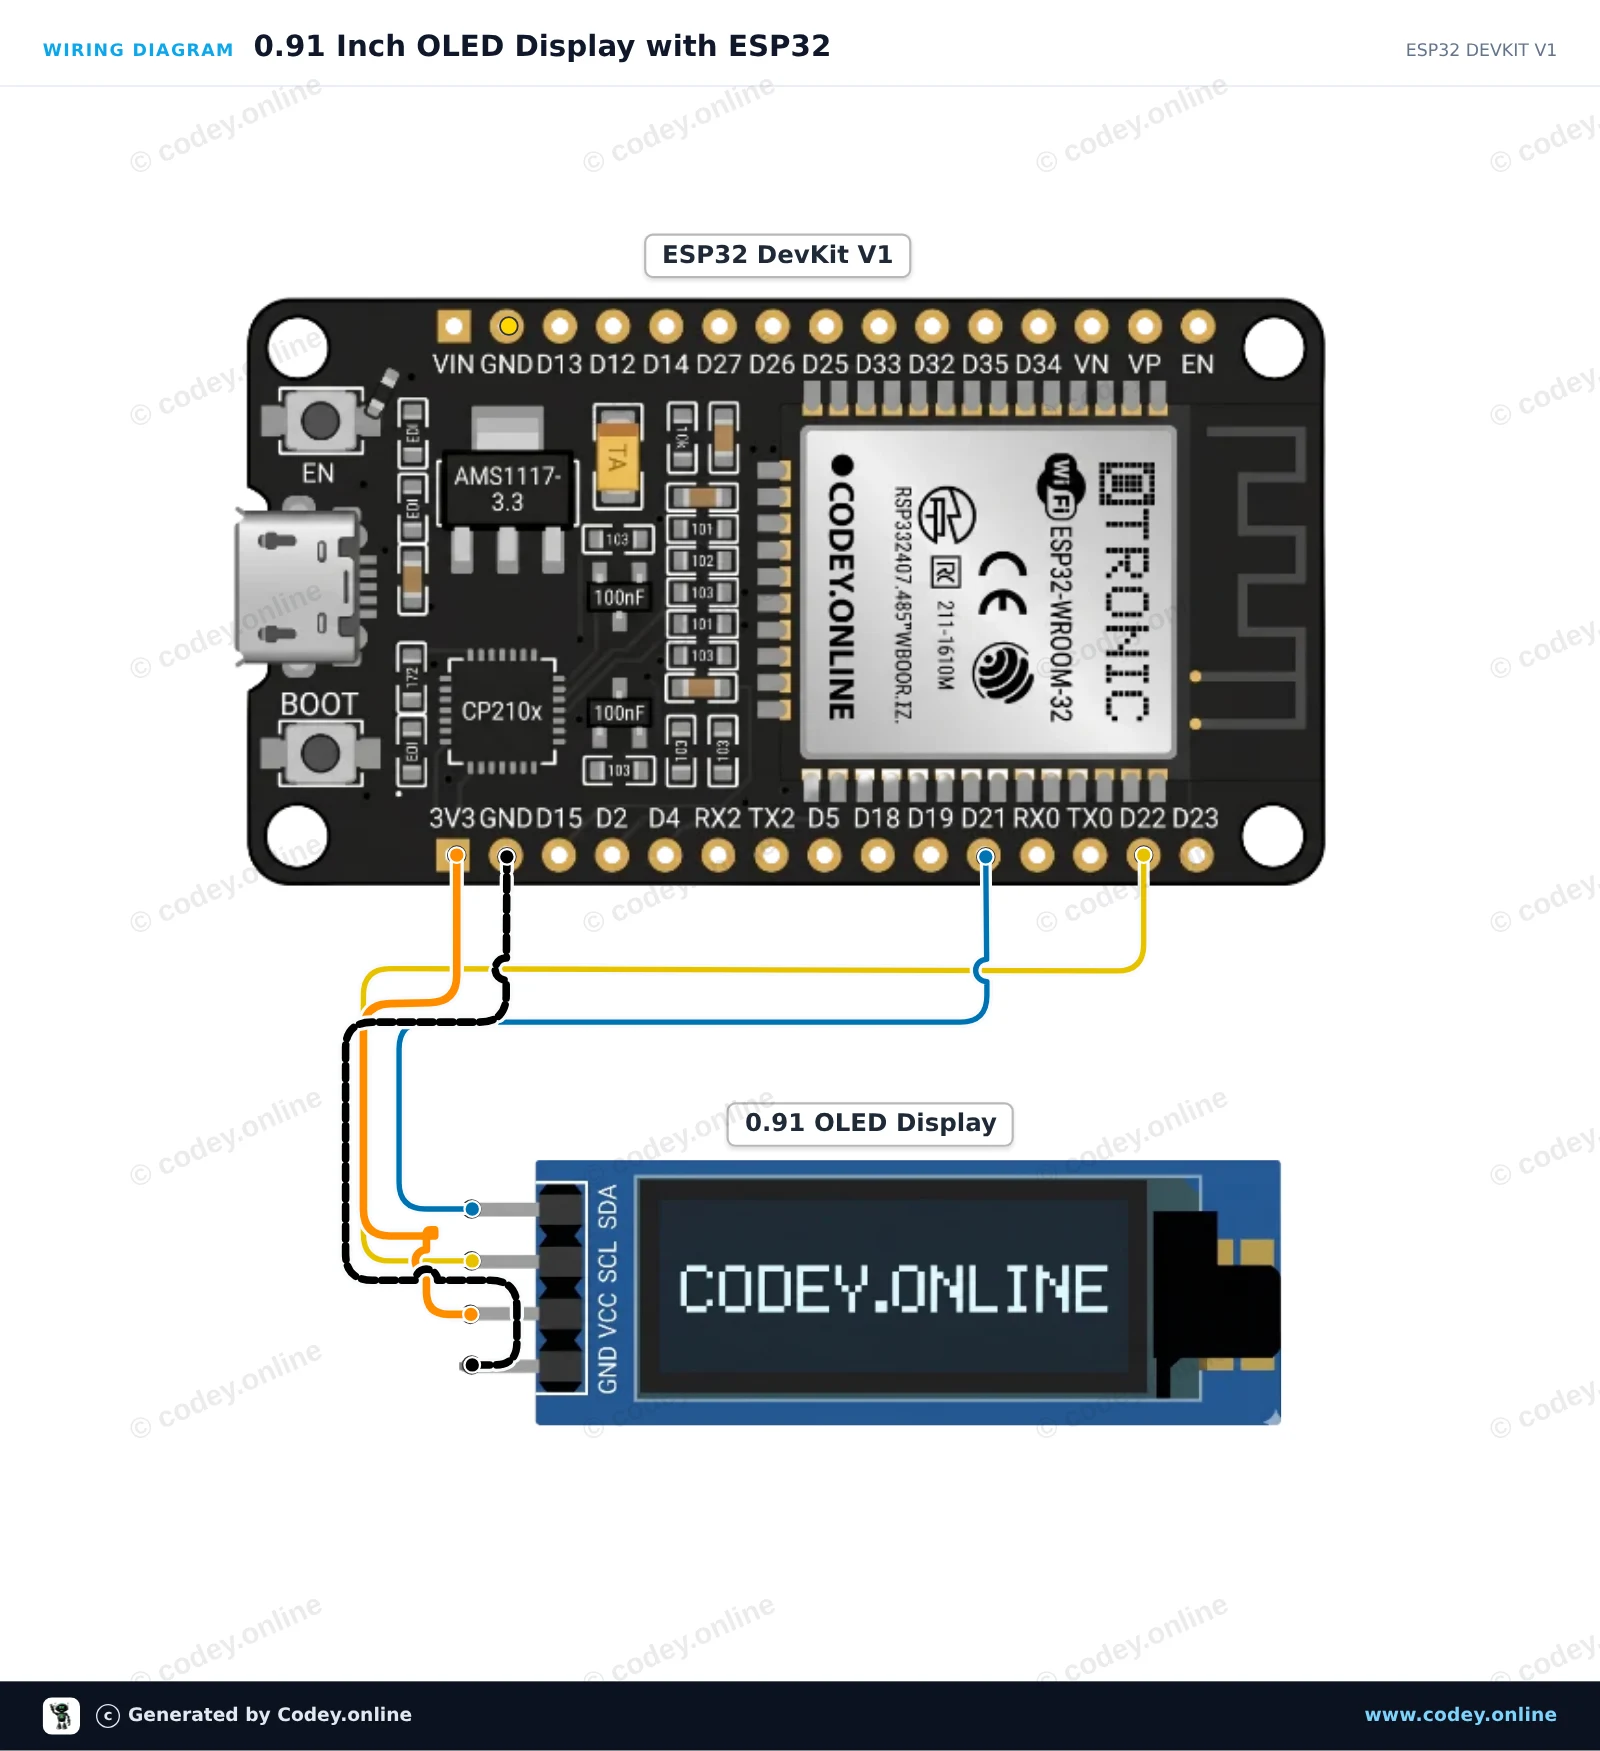
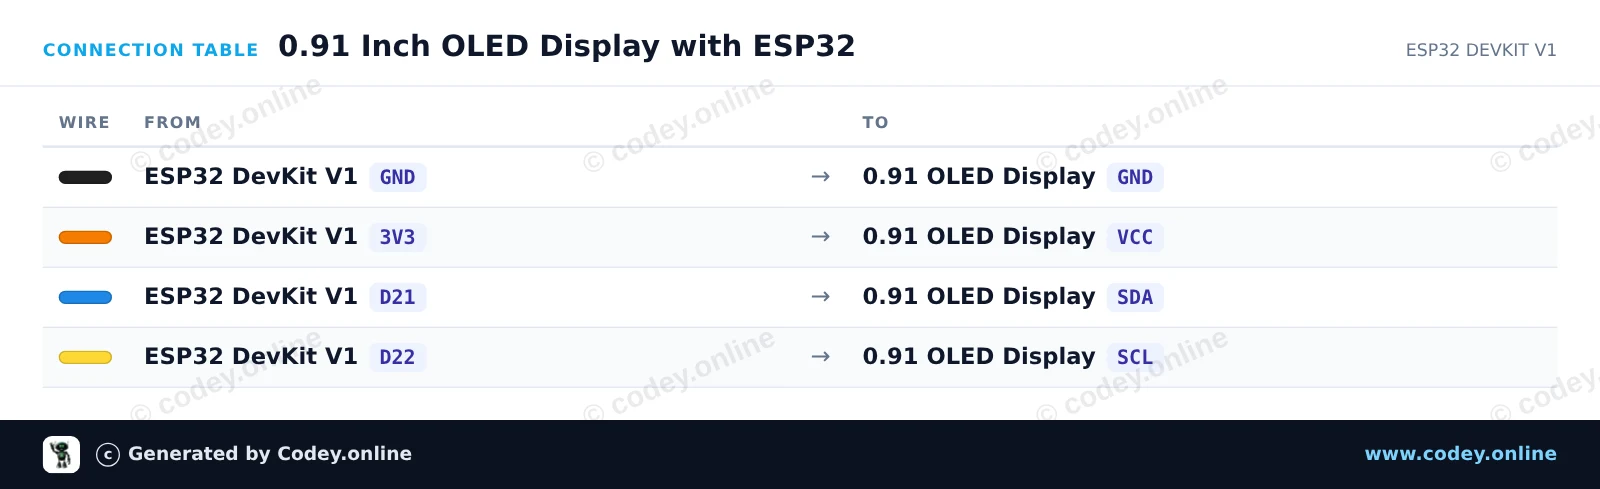
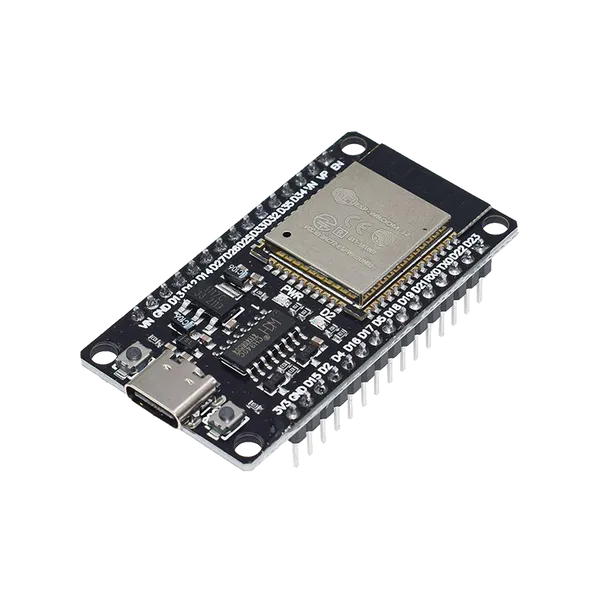
Questo esempio collega un display OLED I2C 128x32 da 0.91-inch all'ESP32. Lo sketch inizializza il display e mostra un messaggio di benvenuto insieme a un contatore di runtime aggiornato. Collega il display ai pin I2C predefiniti dell'ESP32 (GPIO 21 per SDA e GPIO 22 per SCL), alimentato a 3.3V.
/*
 * ==================================================================
 *  Generated by Codey.online  —  https://www.codey.online
 * ==================================================================
 *  Project   : 0.91 Inch OLED Display with ESP32
 *  Board     : ESP32 DEVKIT V1 (esp32:esp32:esp32doit-devkit-v1)
 *  Parts     : OLED Display 0.91 inch
 *  Libraries : Adafruit SSD1306 2.5.16, Adafruit GFX Library 1.12.6
 *
 *  Codey Online is an AI-powered browser IDE for Arduino and ESP32.
 *  Describe your project and Codey writes the code, draws the wiring
 *  diagram and uploads it to your board, straight from the browser.
 *  This code is free to use, modify and share, without warranty.
 * ==================================================================
 */

#include <Wire.h>
#include <Adafruit_GFX.h>
#include <Adafruit_SSD1306.h>

#define SCREEN_WIDTH 128
#define SCREEN_HEIGHT 32
#define OLED_RESET -1
#define SCREEN_ADDRESS 0x3C

Adafruit_SSD1306 display(SCREEN_WIDTH, SCREEN_HEIGHT, &Wire, OLED_RESET);

int counter = 0;

void setup() {
  Serial.begin(115200);

  // Initialize I2C on ESP32 default pins (SDA=21, SCL=22)
  Wire.begin(21, 22);

  if (!display.begin(SSD1306_SWITCHCAPVCC, SCREEN_ADDRESS)) {
    Serial.println(F("SSD1306 allocation failed"));
    for (;;); // Halt if OLED not found
  }

  display.clearDisplay();
  display.setTextSize(1);
  display.setTextColor(SSD1306_WHITE);
  display.setCursor(0, 0);
  display.println(F("ESP32 OLED Demo"));
  display.display();
  delay(1500);
}

void loop() {
  display.clearDisplay();

  display.setTextSize(1);
  display.setTextColor(SSD1306_WHITE);
  display.setCursor(0, 0);
  display.println(F("ESP32 DevKit V1"));

  display.setTextSize(2);
  display.setCursor(0, 14);
  display.print(F("Count: "));
  display.println(counter);

  display.display();

  Serial.print(F("Current count: "));
  Serial.println(counter);

  counter++;
  delay(1000);
}Librerie necessarie: Adafruit SSD1306 2.5.16, Adafruit GFX Library 1.12.6
Wiring diagram and example code generated by Codey.online — https://www.codey.online





 English
  Nederlands
  Frans
Frans  Deutsch
  Español
  Suomi
Suomi  Polski
  Dansk
Dansk  Ελληνικά
  Български
  Čeština
  Hrvatski
  Aileen